
Simple Concepts to Shape and Polish Anterior Composites to Rival Porcelain
With contemporary direct composite systems, the clinician can now truly be a dental artist by conservatively and esthetically creating restorations that are so life-like that they virtually emulate the beauty of natural tooth structure.
However, rehabilitating or enhancing a smile with direct composite resins can be challenging. The task not only requires an understanding of the intricacies of shade and color selection, but also a mastery of replicating the uniqueness of natural tooth morphology and surface texture of the composite restoration. It could be debated that the most important aspect of any dental restoration is its unique morphologic shape, since a restoration with the correct anatomic shape and texture will seamlessly blend into the dentition even if there are some small shade disparities.
By essentially using only a few simple instruments and regimentally following an established work- flow of finishing and polishing, it is possible to predictably convert this morphologic concept of unique morphological shapes into reality.
PRIMARY TOOTH ANATOMY
Primary tooth anatomy simply defines the geometric shape or outline of the tooth and usually falls into three categories: square, triangular and ovoid.
TRANSITIONAL LINE ANGLES
There are three transitional line angles in maxillary anterior teeth that represent the area of transition between the two proximal surfaces and incisal surface with the facial surface. Altering the distance between the two proximal line angles gives the illusion of making the tooth appear wider or narrower. The proximal transitional line angles also influence the size of the facial embrasures.
POINT ANGLES
Point angles are the junctions of the two proximal transitional line angles with the incisal facial line angle. The point angles determine the size of the incisal embrasures, where in esthetically oriented maxillary anterior teeth grow, larger away from the midline.
SECONDARY TOOTH ANATOMY
Secondary tooth anatomy is the result of normal tooth development and refers to the facial depressions and undulations commonly found in maxillary anterior teeth that give rise to the facial contours and accentuate the facial lobes.
TERTIARY ANATOMY
This commonly refers to perikymata and various forms of surface stippling usually present in younger teeth. This is commonly lost in mature teeth or those that are in function longer due to frictional forces that erode away this morphology over time.
| ANTERIOR COMPOSITE FINISHING WORKFLOW |
Suggested armamentarium for creating tooth anatomy and finishing composite resins that virtually mimic natural teeth are:
- Abrasive discs
- Fine diamond burs
- Aluminum oxide finishing cups and discs
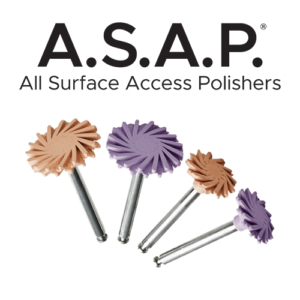
- Diamond impregnated A.S.A.P® Polishers and Brushes and cotton wheel and aluminum oxide polishing paste
Optimal finishing and polishing of a composite restoration is probably the number one secret for a seamless integration of the restoration into the native dentition, especially when restoring a single tooth.
The technique described here is a very simple procedure the clinician can use to achieve a very life-like tooth appearance, with only subtle modifications necessary from patient to patient due to the variability of natural human tooth anatomy and luster of the native enamel. Armed with a sound knowledge of human tooth morphology, here is an effective, systematic approach to use.
STEP 1
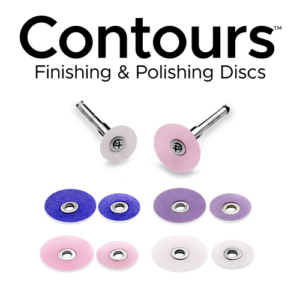
Once the last layer of resin has been light-cured, use a coarse grit abrasive disc followed by a medium grit disc (such as ContoursTM Finishing and Polishing Discs from Clinician’s Choice®, Sof-LexTM Discs from 3M or FlexiDiscTM from Cosmedent) (FIG. 1) to develop the primary anatomy of the tooth based on proximal and cavo-surface line angles outlined in pencil on the restoration and adjacent tooth. Properly contour the following:
- Incisal edge position
- Three facial planes
- Location of the proximal line angles
- Location of the point angles
- Determine how open or closed the facial and incisal embrasures are
- Use a sharp pencil to visualize and if needed to modify or move the location of the proximal line angles with the finishing discs.
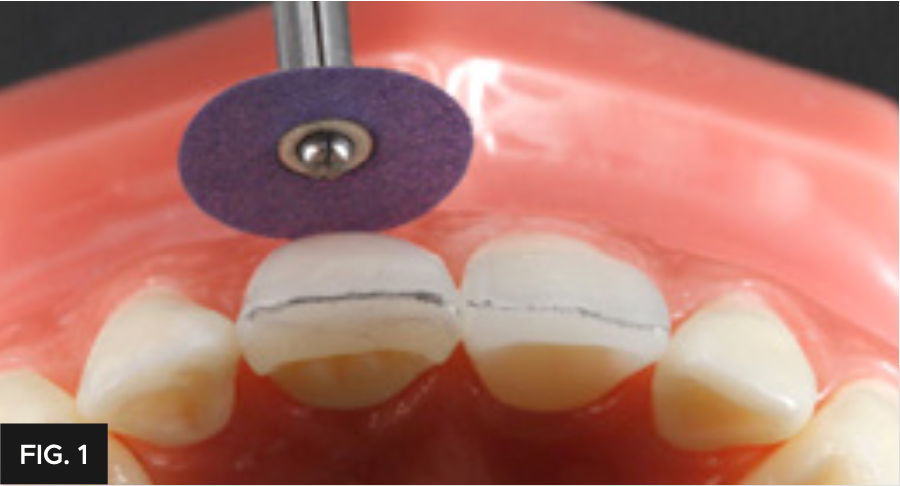
Primary anatomy is outlined on the restored tooth as well as adjacent tooth. Abrasive discs such as coarse Contours Finishing and Polishing Discs (Clinician’s Choice) to move the proximal line angles in or out in order to match the adjacent tooth. The established inciso-facial line angle is left outlined in order to guard against accidental modification while establishing secondary anatomy. Larger diameter discs are preferred for this broader surface adjustment.
It is very important to keep in mind that the proximal line angles, point angles, facial embrasures, and incisal embrasures all influence the appearance of the tooth and are dependent on one another.
STEP 2
Once the primary anatomy has been obtained with the use of rotating discs, the secondary anatomy can be developed.
A very effective method of placing secondary anatomy in a tooth is to visualize it first by drawing the locations onto the tooth with a pencil.
Once the areas have been identified, use a single flame-shaped fine diamond bur (I use the Brasseler F8888.31.012) to create the depressions and at the same time accentuate the proximal/middle developmental lobes. (FIG. 2)
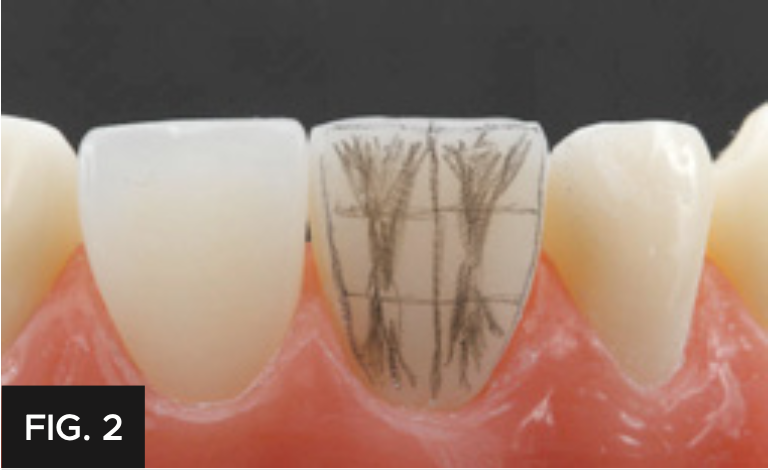
Once the desired secondary anatomy is drawn onto the facial surface, a fine flame-shaped diamond (F8888.31.012 Brassler USA) is used to create the depressions. Care must be taken to avoid altering the facio- lingual line angle also outlined in pencil.
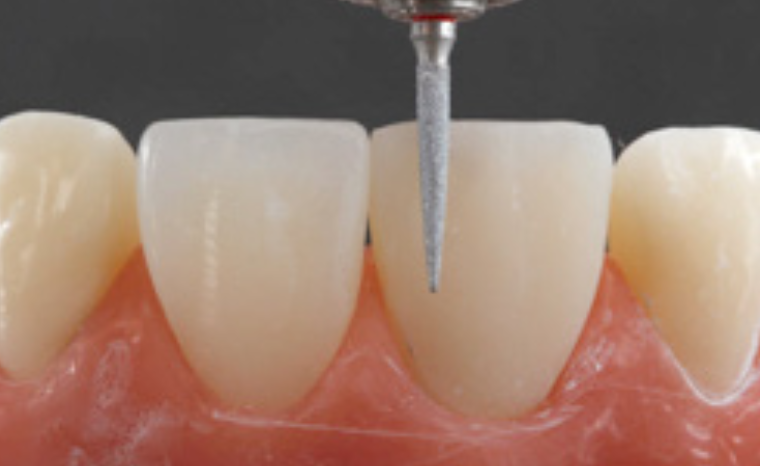
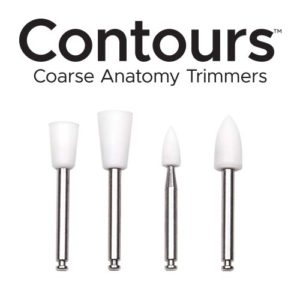
A series of 90 micron aluminum oxide diamond impregnated set of rubber points and cups (ContoursTM Coarse Anatomy Trimmers from Clinician’s Choice® or Astropol® from Ivoclar Vivadent) with water can be used to smooth out any surface irregularities and/or scratches left by the fine diamond flame shape bur to create a subtle, naturally flowing appearance of the secondary anatomy. (FIG. 3)
90 micron aluminum oxide polishing points and cups (Contours Coarse Anatomy Trimmers, Clinician’s Choice) are used to gently remove surface scratches left behind by the diamond bur and soften the lobes and facial depressions.
STEP 3
The anatomy and scratches can be further refined with the 44 micron purple A.S.A.P.® Pre-polisher and 6 micron A.S.A.P.® Final High Shine Polisher (diamond impregnated A.S.A.P. Polishers, Clinician’s Choice®) as these are very effective in accessing intricate parts of teeth without degrading the anatomy. (FIG 4)
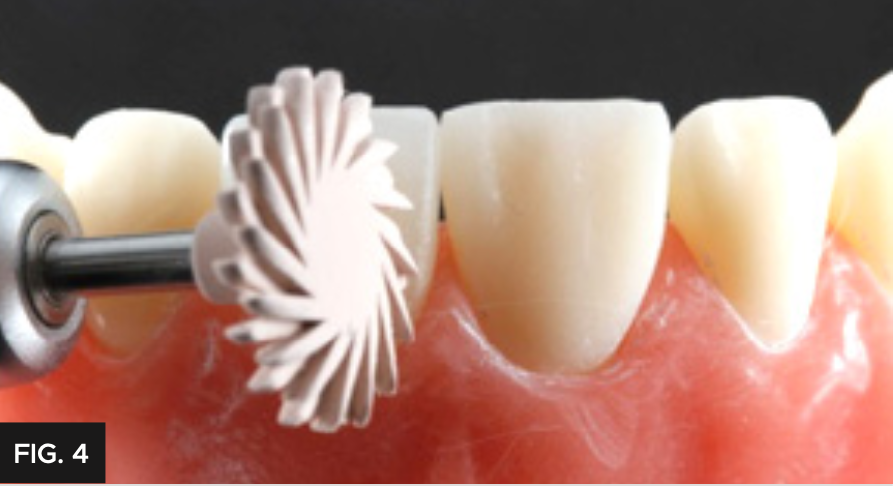
A 2-step diamond polishing system (A.S.A.P. Polishers, Clinician’s Choice) are used to establish a high natural polish. The purple Pre-polisher removes the last of the surface irregularities while the peach Final High Shine Polisher brings out a high gloss luster, all in literally seconds. These wheels are especially kind to the gingiva in case of accidental contact.
The use of edible silver glitter (available at most cake-decorating establishments) is a quick and effective way to verify the anatomy and ensure that all scratches are removed. (FIG. 5)
After applying the glitter with a make-up brush, the silver glitter will quickly show areas that need additional smoothing or blending of the surface texture for a restoration that appears natural.
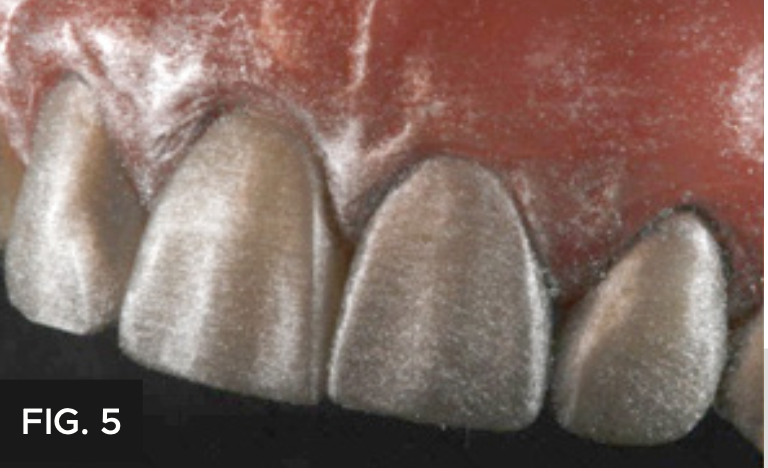
Edible cake glitter, applied liberally to the facial surfaces of the restoration and surrounding dentition, is used to evaluate the surface anatomy and verify the removal of all surface irregularities.
Tertiary anatomy generally presents in the form of perikymata or surface stippling that may or may not be present depending on the genetic variation of the patient or the age of the tooth. These characteristics are erased by the friction of mastication forces over time. Perikymata can be very simply placed by running a fine diamond bur at stall-out speed with an air turbine, or using an electric handpiece such as a Bien-Air EVO system at a very low RPM, in a mesiodistal direction on the facial surface. (FIG. 6)
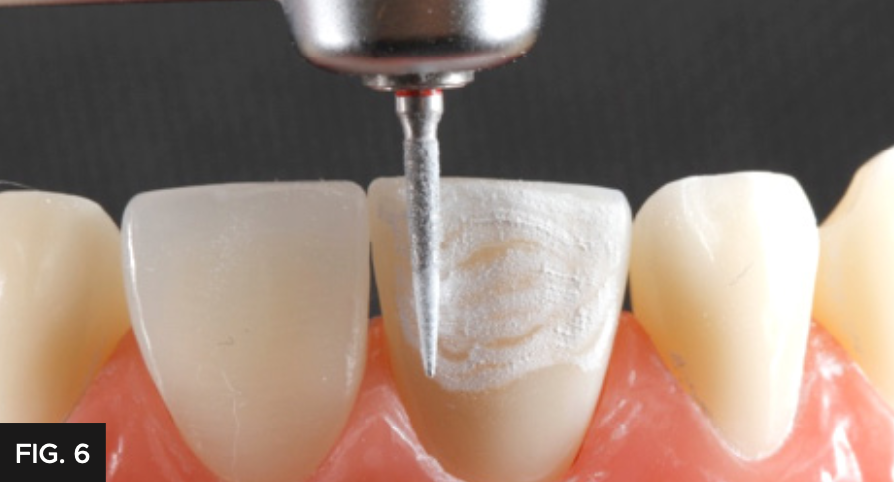
Tertiary anatomy in the form of perikymata can
be established with the use of a fine flame-shaped diamond bur (F888, Brasseler USA) at stall-out speed.
Surface stippling, on the other hand, can be placed with a fine football high-speed diamond bur using a pecking motion on the facial surface where this effect is desired.
STEP 6
The final polish will depend on the desired degree of luster or that which matches the native dentition if restoring only a single tooth. It is paramount to adhere to this workflow and as the fine natural anatomy created thus far can be easily erased with the overuse of abrasives polishing.
A lower surface luster can be achieved by using any silicone-impregnated brush with aluminum oxide paste (EnamelizeTM from Cosmedent) over the entire surface of the composite resin. If a very high degree of luster is desired, a cotton wheel along with the aluminum oxide polishing paste will give a shine that rivals the highest natural luster of enamel that exists.
CONCLUSION
The systematic approach described here can simplify the understanding of each morphologic component of maxillary anterior teeth. Armed with this knowledge, the clinician can use the procedure and tools discussed to create anterior composite restorations that mimic the beauty of natural tooth structure.

ABOUT THE AUTHOR
David Chan earned his DMD degree in 1989 from Oregon Health Sciences University. He maintains a full-time practice focused on cosmetic and comprehensive dentistry located in Ridgefield, Washington. David currently serves as the President of the American Academy of Cosmetic Dentistry, as director at the Center for Dental Artistry and a Clinical Instructor at the Kois Center in Seattle, Washington.
He is an Accredited member of the AACD and has been published widely in peer reviewed dental articles, including several articles in the prestigious “Journal of Cosmetic Dentistry”. In addition, David travels nationally/internationally giving lectures to dentists on comprehensive esthetic dental care and serves as a key opinion leader for many dental products companies.
Share This Article! Choose Your Platform
Products Mentioned in this article
Related Articles
A Systemic Approach to Contouring and Polishing Anterior Resin Composite Restorations: A Checklist Manifesto
By Marcos Vargas, BDB, DDS, MS and Bob Margeas, DDS
The placement of anterior composite resin restorations has become more systematic and simplified during recent decades, largely due to the introduction of more esthetic and natural tooth structure replicating materials.
Success and Predictable Results with Anterior Composites Every Single Time
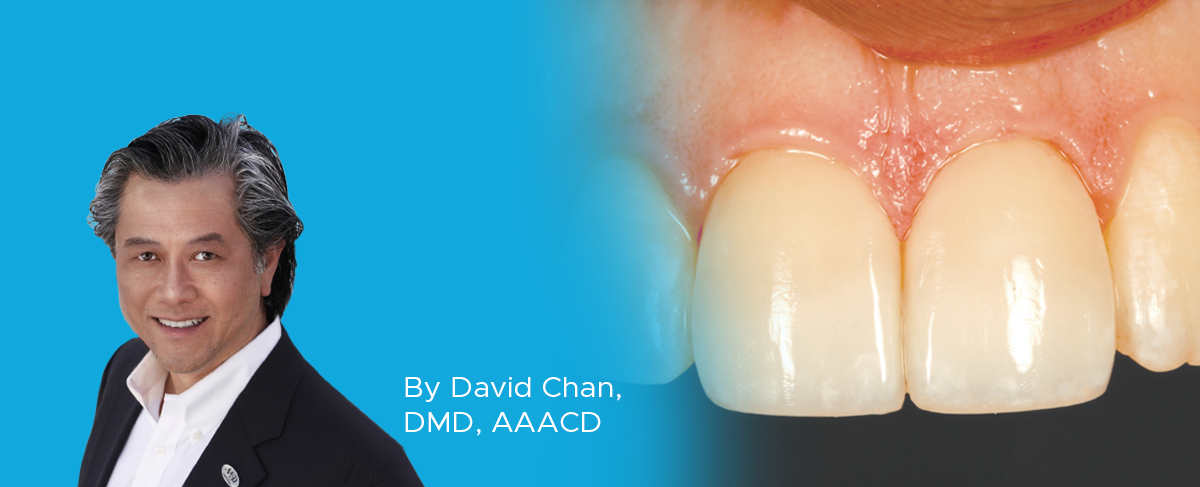
By David Chan, DMD, AAACD
The ability to rehabilitate or enhance a smile using direct composite restorations in the esthetic zone can be considered the ultimate challenge for the cosmetic dentist.
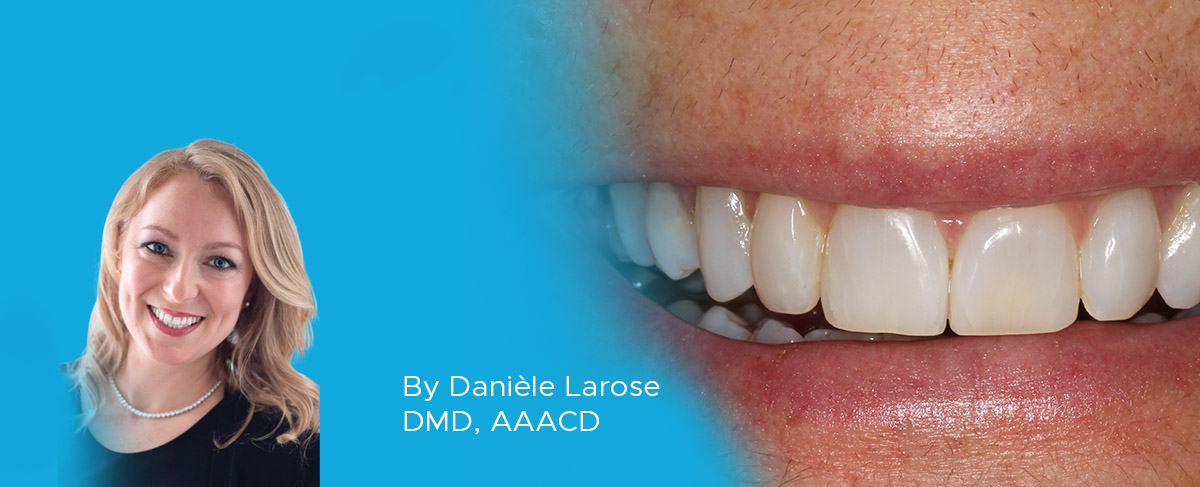
Restoring a Lateral Incisor to Proper Dimensions After Orthodontic Treatment
By Danièle Larose, DMD, AAACD
The most conservative method of restoring a Class IV fracture or correcting an anterior tooth size discrepancy is often composite resin.
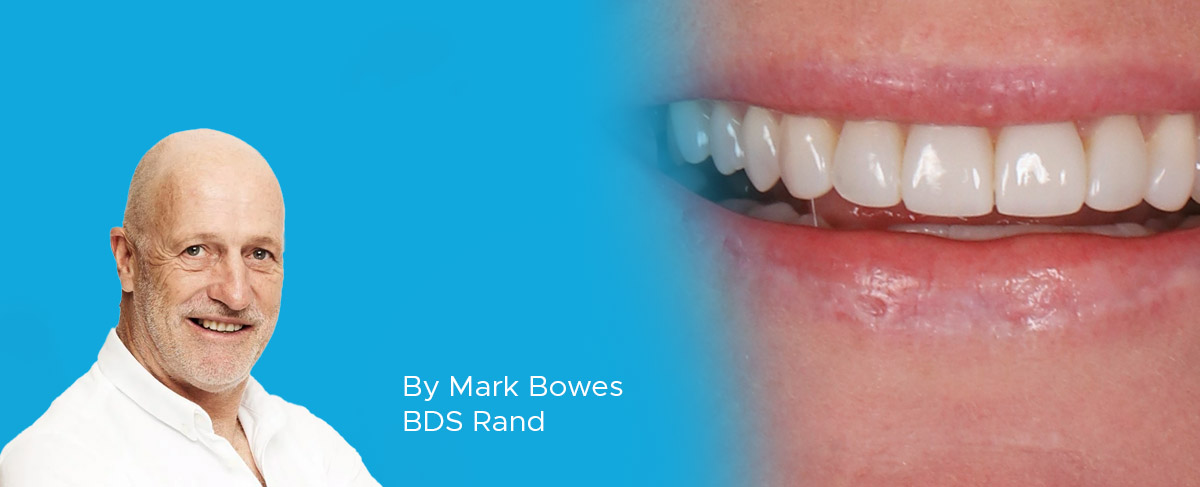
Facially Driven, Single Opacity Composite Veneers
By Mark Bowes, BDS Rand
Tooth wear has become a common problem, and today it affects both young and old patients. Ceramic veneers have been the standard treatment for many years. However, patients today are looking for more conservative and more cost-effective ways to treat missing, diseased, and unsightly tooth structure.
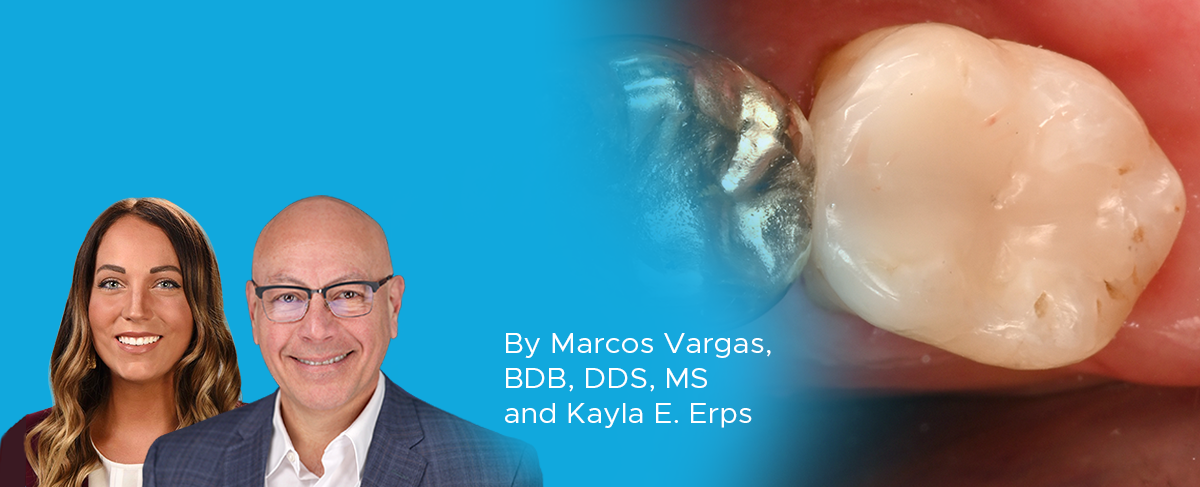
Simplifying the Class II Composite with Bulk Fill: Efficiency Without Compromise – Clinical Article
By Marcos Vargas, BDB, DDS, MS & Kayla E. Erps, Senior Dental Student, University of Iowa
While restoring the posterior dentition, natural proximal contours, contact size, position and shape are integral to the function and longevity of both the restoration and remaining tooth structure. Composite dentistry has progressed to the point where restorations disappear into the surrounding tooth structure yet despite considerable improvements in both technique and materials, inconsistent results continue to be a challenge for many clinicians.

Take Esthetics to a New Level of Efficiency and Convenience – Clinical Article
By Doug Harvey, BSc., DDS
The cost of delivering dentistry is seemingly always on the rise. With an increased interest in being more involved in their treatment, the well-informed patient has placed a spotlight on receiving high quality esthetic restorations provided in a safe and time-efficient manner.