
Simplifying the Class II Composite with Bulk Fill: Efficiency Without Compromise
By Marcos Vargas, BDB, DDS, MS
and Kayla E. Erps, Senior Dental Student, University of Iowa
While restoring the posterior dentition, natural proximal contours, contact size, position and shape are integral to the function and longevity of both the restoration and remaining tooth structure. Composite dentistry has progressed to the point where restorations disappear into the surrounding tooth structure yet despite considerable improvements in both technique and materials, inconsistent results continue to be a challenge for many clinicians. The continuing incidence of post-op sensitivity and struggle with technique-sensitive composite placement techniques are a reminder that we still need to look for ways to improve in Class II situations. Fortunately, solutions involving the choice of product, with slight alterations in their application, with a focus on addressing these challenges, can be made without necessarily overhauling the entire technique.
The Class II restoration begins with a preparation that contributes to its function and longevity. The rounding of all internal line angles aid in the application of the dental adhesive as well as the gap-free adaptation of the composite resin to the tooth. Beveling of the occlusal margin has been shown to increase restoration longevity by reducing microleakage.
It is the selection and placement of the matrix system that establishes the proximal contours and contacts of the posterior Class II restoration. Circumferential or Tofflemire-style matrix bands may still be required when replacing one or more cusps with composite despite being designed for the amalgam restoration. Since composite cannot be condensed up against such a matrix band, proximal contours tend to be funnel-shaped and proximal contacts are prone to be too light, too high occlusally and/or too small to be effective against food impaction and marginal ridge fracture. The flat circumferential matrix band has to be contoured once in place while pre-contoured sectional matrices lead to more natural proximal contours and contacts. The biggest improvement over circumferential systems was the innovation of the separating ring. While supporting the matrix band, the ring created a separation force between the adjacent teeth producing a more predictably tighter contact. Many years have passed since the first sectional matrix systems were introduced and each component has undergone design changes and improvements. Even so, existing sectional matrix systems can differ greatly from each other in ring, wedge, and matrix design.
When selecting a sectional matrix system, here is what I look for:
SECTIONAL MATRIX BANDS
The more contour, the better for creating a properly positioned contact. Second, I like a band that hugs the tooth tightly as this seals the enamel margins better to reduce flash as well as allowing me to replace a partially missing cusp. The ideal band will not crimp during insertion, especially with conservative preparations, so better to choose a more rigid band to prevent this clinical frustration.
WEDGES
Most importantly, the wedge must seal the matrix band against the proximal box to prevent overhangs with enough pressure to hold firm and not back out during placement of the composite. Unlike traditional wood wedges, I prefer a wedge that reflects the buccal/lingual contour of the tooth.
THE MATRIX RING
I look for a ring that is easy to place, creates strong tooth separation, and seals the matrix band to the tooth to reduce flash and finishing time. There are many rings available that create separation, however some lose their tension, or lack the anatomical contour necessary to seal the matrix band against the tooth.
Bulk fill composites have become popular due to their increased efficiency of the Class II technique.
The Class II composite restoration is the most common restoration inmany restorative practices. Despite its widespread placement, post-op sensitivity, unpredictable proximal contours and contacts as well as clinical inefficiency can still cause frustration. Bulk fill composites have become popular due to their increased efficiency of the Class II technique. Challenges with increased translucency and handling, compared with layered composites, have largely been overcome with some bulk fill composites. However, where esthetics are emphasized, layered paste composites will provide a more desirable restoration. The following case illustrates a technique utilizing dental materials that can lead to minimizing or even eliminating these many current challenges.
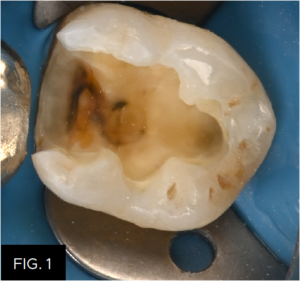
Isolation of the preparation is key to the predictability and longevity of the bonded restoration. Rounded internal line angles facilitate the adaptation of the adhesive and composite to the preparation. Beveled occlusal enamel exposes the ends rather than the sides of the enamel rods, mitigating marginal microleakage. (FIG. 1)
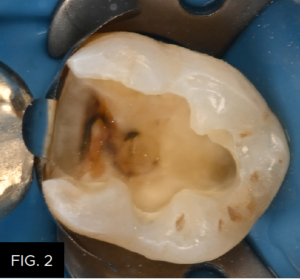
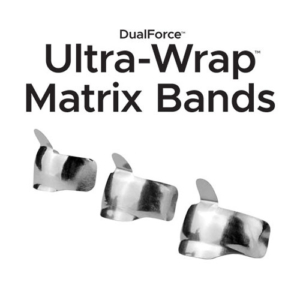
DualForce™ Ultra-Wrap™ Matrix Bands (Clinician’s Choice®) are pre-contoured in the contact area as well as at the marginal ridge. Careful sizing of the band places the contact point and marginal ridge in their ideal positions. With the marginal ridge already established, the long, tight “U” shape of the Ultra-Wrap band minimizes flash and finishing time especially in the wider proximal box form. Placement of the Ultra-Wrap matrix is aided by the occlusal tab (shown folded out of the way) and the hardened metal of the matrix band resists crimping, even with conservative preparations. (FIG. 2)
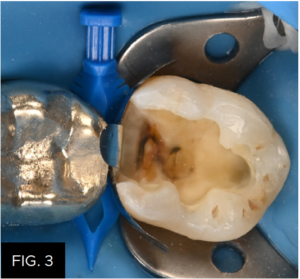
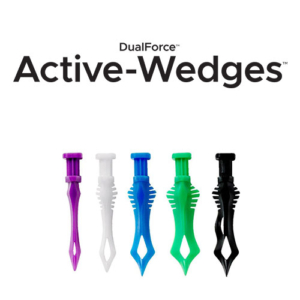
(FIG. 3) shows the DualForce Active-Wedge™ locked in place. The Active-Wedge’s tip collapses to ease its insertion then re-expands preventing backing out, and ensures complete buccal to lingual seal of the gingival margin. Placement of the Active-Wedge is made by grasping the serrated handle with cotton pliers and guiding the Active-Wedge interproximally using a suture-like motion. The stiff skeleton of the Active-Wedge will exert up to 2 lbs of separation force once in place.
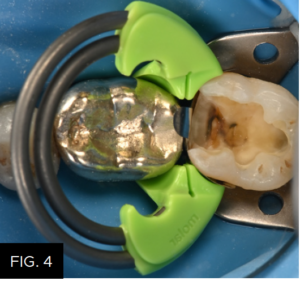
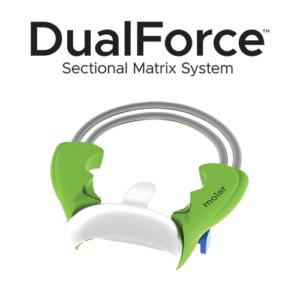
The DualForce Molar Ring (green) is expanded with little hand strain and brought to the prepared tooth at a 45° approach angle. The DualForce Ring is designed to sit at a 20° angle to the occlusal plane, and full seating of the ring is ensured with gentle finger pressure applied to the plastic portion only. The two concentric rings produce more separation force than other sectional rings. Each ring applies force to a pair of independent separation prongs that adapt well to a variety of heights of contour and tooth alignment while creating a balanced separating force in both mesial and distal directions. Note the seal of the matrix band at the proximal line angles. This will greatly reduce flash and finishing time. (FIG. 4)
Whether a total etch or selective etch technique is used, the importance of maximizing the enamel adhesive bond is critical. It is this bond that prevents micro-leakage and extends the lifespan of the restoration. The total etch technique was used here with a 35% phosphoric acid etch. The enamel was etched first followed by a 15 second etch of the dentin which will effectively remove the smear layer, enabling the adhesive to reach the mineralized dentinal surface and obturate the dentinal tubules. (FIG. 5) Care not to over-etch the dentin is important to controlling post-op sensitivity. The etch is then rinsed off and the dentin is left moist.

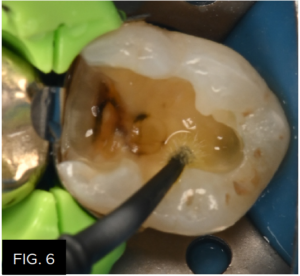
The new Scotchbond™ Universal Plus Adhesive (3M) is then scrubbed into the enamel and dentin for 20 seconds. This newer version is similar to Scotchbond™ Universal but now has an incorporated dual-cure activator, is radiopaque, and can be used to bond to caries-affected dentin. As a universal adhesive, Scotchbond™ Universal Plus Adhesive could have been used in the selective-etch mode while still maximizing the enamel bond strengths, or the self-etch mode. This universal adhesive is designed to be used in one application due to its thicker viscosity, and scrubbing the adhesive will drive it onto the dentin surface and into the dentinal tubules for optimal bond strengths and prevention of post-op sensitivity. Once this is thinned and the ethanol solvent is evaporated (approx. 5 sec), the adhesive is light cured for 10 seconds. (FIG. 6)
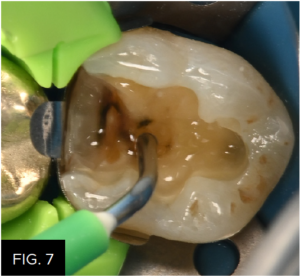
With such a large preparation, using a bulk fill composite will increase the technique’s efficiency. First, as a means to wet the surface of the preparation to assist in the adaptation of the paste bulk fill composite, a very thin layer of Filtek™ One Flowable Bulk Fill (3M) was applied to the entire preparation and is not light cured. (FIG. 7)
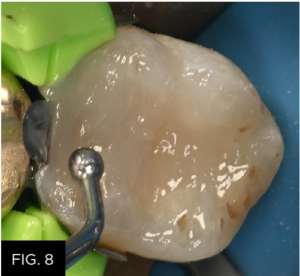
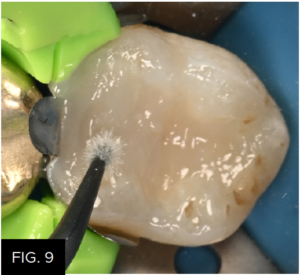
Immediately, starting with the proximal box, Filtek™ One Bulk Fill paste restorative (3M) is extruded into the thin layer of flowable bulk fill, pushing the flowable bulk fill ahead of it and ultimately removing excess out of the preparation. Filtek One offers reduced polymerization shrinkage stress and increased opacity without compromising depth of cure. Occlusal anatomy is then placed into the unpolymerized Filtek One Bulk Fill restorative. (FIG. 8) A microbrush is then used to remove the excess Filtek One Flowable Bulk Fill as well as the Filtek One Bulk Fill composite. (FIG. 9) The restoration is light cured from the occlusal, buccal and lingual for 20 seconds each.
The DualForce Active-Wedge is removed with a cotton plier followed by matrix band and ring removal. (FIG. 10) Any residual flash removal and marginal ridge recontouring is achieved using a #12 scalpel. Alternatively, a coarse disc may be used for this purpose. The clinical result obtained from the use of the DualForce system is the restoration of natural tight contact and contours with a minimal need of finishing time.

In order to achieve a high luster polish quickly, A.S.A.P.® Dailies (Clinician’s Choice®), a 2-step diamond polishing wheel, were used. The purple Pre-polisher is used in a wiping motion over the composite surface at 8-10,000 RPM to smooth the composite surface. Next a very high luster is achieved with the peach Final High Shine Polisher at the same speed and motion for a total polishing time of less than a minute. (FIG. 11)
Utilizing this bulk fill technique and materials results in every step of this Class II technique being optimized for restorative longevity, technique efficiency, and patient comfort. This restoration is a culmination of technique and dental materials chosen for their effectiveness and efficiency and, while esthetics was not emphasized, it was not compromised. (FIG. 12)


ABOUT THE AUTHOR
Dr. Marcos Vargas attended Cayetano Heredia University School of Dentistry in Lima, Peru and graduated in 1985. He spent two years, 1990 to 1992, in the AEGD program at the Eastman Dental Center in Rochester, New York. Dr. Vargas received his Certificate and Master’s Degree in Operative Dentistry in 1994 at the University of Iowa where he is currently a Professor in the Department of Family Dentistry. Dr. Marcos Vargas has published extensively in the area of dental adhesion and resin composites for over 25 years. He maintains a private practice limited to Operative Dentistry with an emphasis on esthetic dentistry.


Related Articles
Ultimate Esthetics Using Non-VITA Shades for Diastema Closure
By Marcos Vargas, BDB, DDS, MS
Spaces between anterior teeth are a common occurrence, and for some, this can be an unattractive feature that they may be looking to correct, especially spaces in the midline.
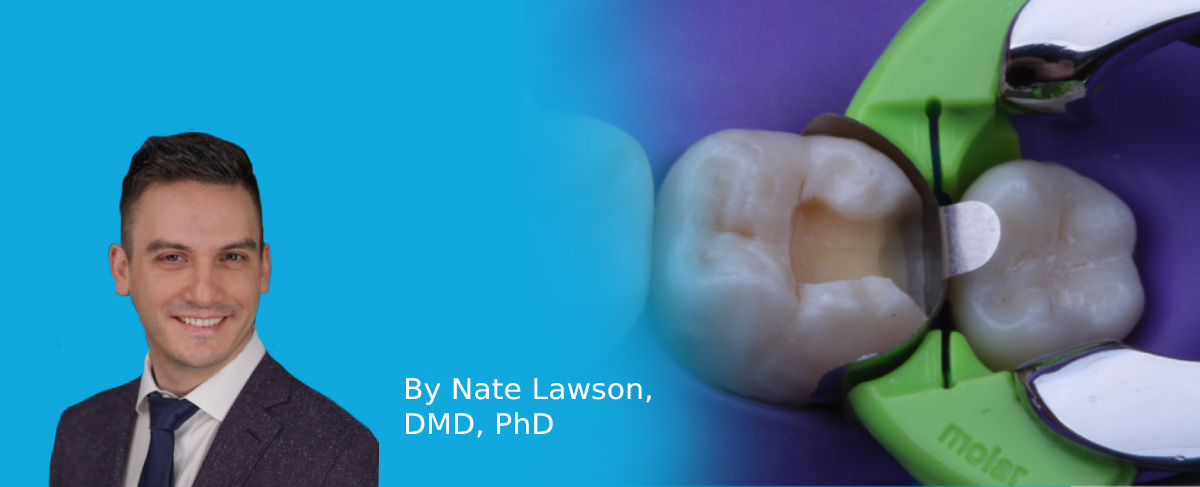
Ask the Expert: An Interview with Nate Lawson, DMD, PhD on Sectional Matrix Systems
By Nate Lawson, DMD, PhD
What is the advantage of using sectional matrices over circumferential matrices for composite restorations?

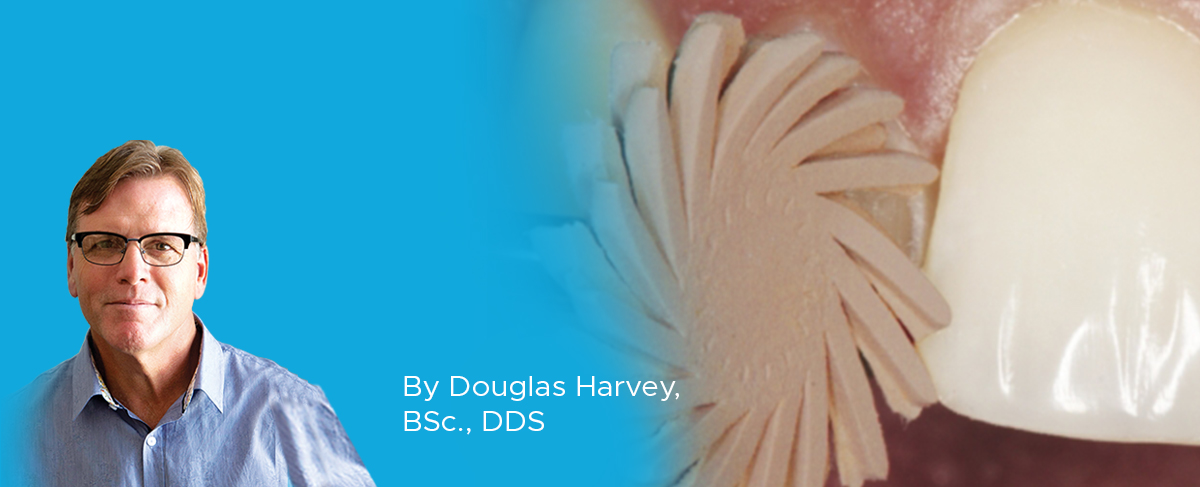
Take Esthetics to a New Level of Efficiency and Convenience – Clinical Article
By Doug Harvey, BSc., DDS
The cost of delivering dentistry is seemingly always on the rise. With an increased interest in being more involved in their treatment, the well-informed patient has placed a spotlight on receiving high quality esthetic restorations provided in a safe and time-efficient manner.
Improve the Overall Quality of your Composite Restorations
Improve the Overall Quality of your Composite Restorations Douglas, Harvey, B.Sc., D.D.S. Today’s composites have led to improved overall esthetics with direct composite restorations. However, these materials continue to rely on the effective polishing of [...]