
Predictable and Efficient Single Unit Crown Restorations
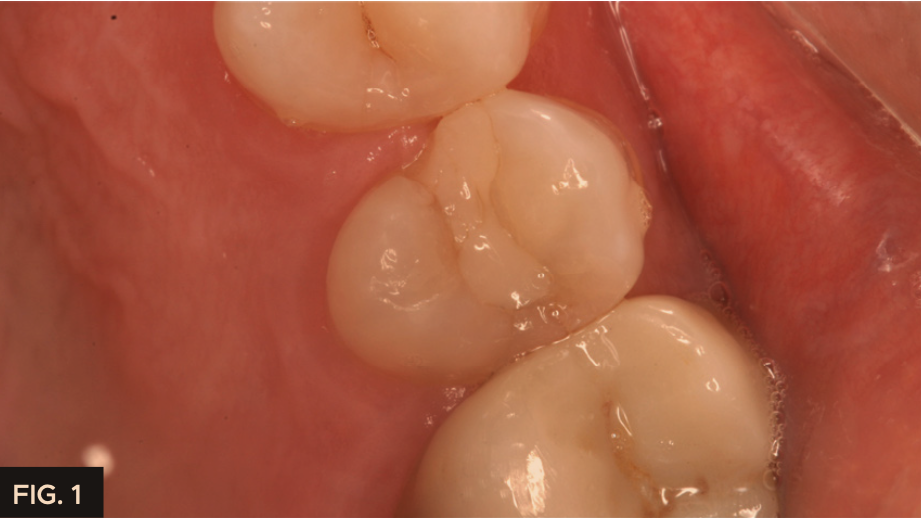
A 55-year-old patient presented to my office with tooth pain upon biting from his second bicuspid. Upon further examination a crack was noted on the mesial marginal ridge. (FIG. 1)
PROVISIONALIZATION
The importance of the temporization stage cannot be understated as it allows the dentist to determine the extent of the tooth condition. A well-fitting temporary crown will allow you to determine if the initial pain response is alleviated and if so, a crown will suffice or if further treatment may be necessary in the form of a root canal. In some cases, an implant may be the treatment of choice if it is determined that the crack extends below into the pulp chamber or through the tooth.
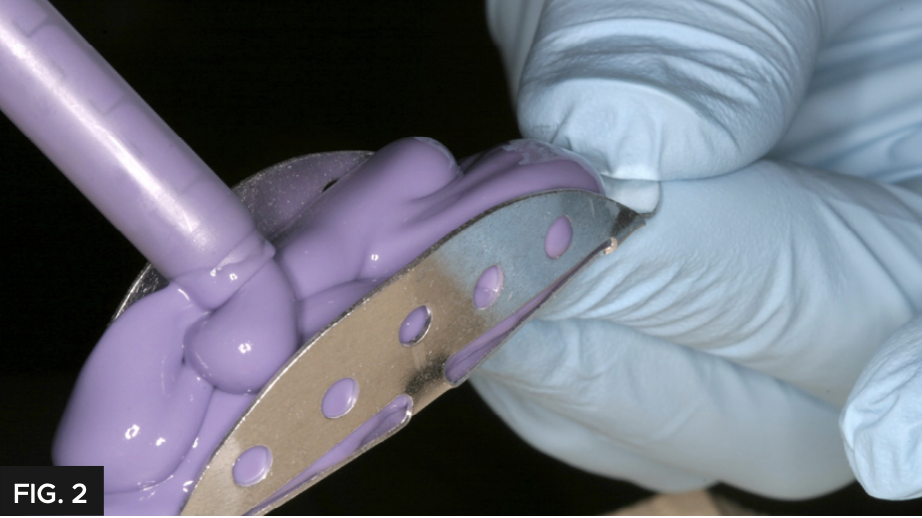
It’s important to have accurate and strong margins with the temporary to prevent gingival irritation at the final cementation stage of the case. Alginate or putty type pre-impressions do not provide the accuracy required, so in my practice I use Template® (Clinician’s Choice®). A TempTray™ was loaded with Template matrix material (FIG. 2) and placed in the patient’s mouth to create a pre-operative impression prior to preparing the tooth. (FIG. 3)
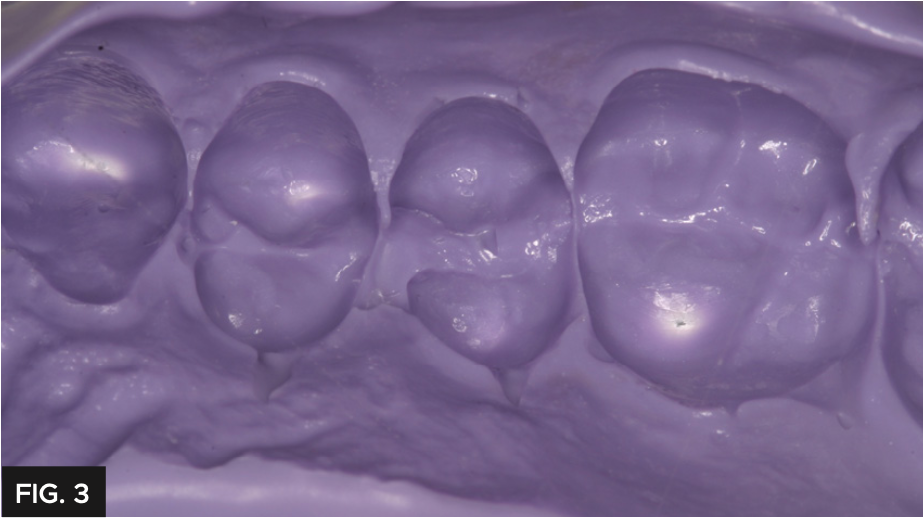
Template is a medium flow impression material that has great detail and a 30-second intraoral set time. After the temporary has been fabricated, the Template impression is kept as a permanent record that can be re- used in the event the temporary fails prior to cementation.
TISSUE MANAGEMENT AND IMPRESSIONING
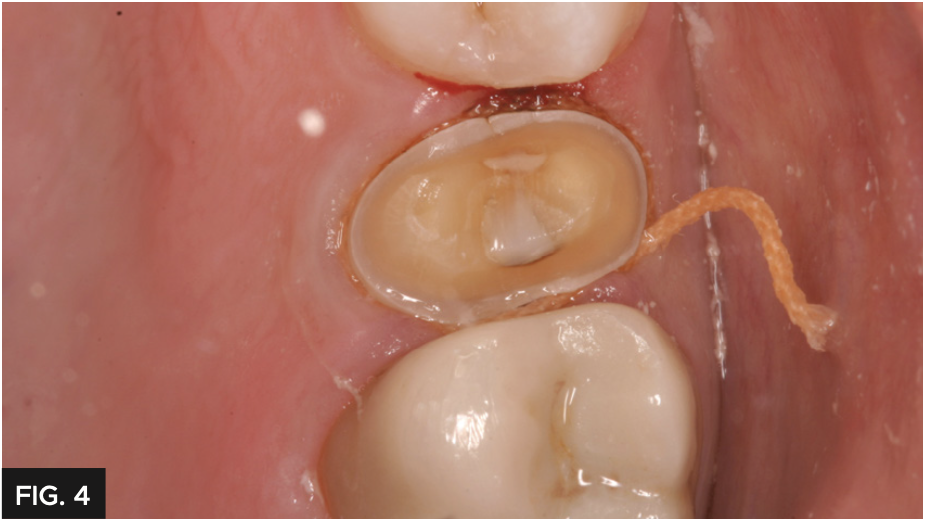
The tooth was prepared for a full coverage crown using a Brasseler #850.016. Gingival retraction was carefully achieved using a double cord technique placing 2 layers of Ultradent’s #000 UltrapakTM retraction cord. (FIG. 4)
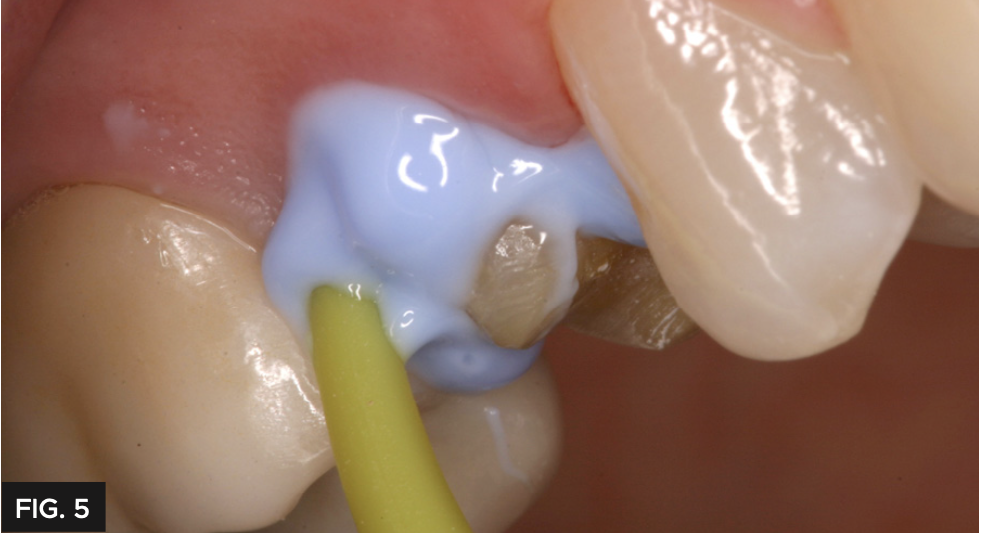
During retraction cord placement, it is crucial to avoid tearing the connective tissue which induces bleeding. To prevent connective tissue damage, light application pressure is used, packing the cord more horizontally while it enters the sulcus. Vertical compaction of the cord with heavier pressure will likely induce bleeding. Following this technique results in adequate tissue retraction without bleeding. Immediately before syringing the Light Body impression material, remove the top retraction cord to allow access to the margin and sulcus. Next, the impression was taken using a Quad- Tray® Xtreme™ metal impression tray with Affinity™ Light Body High Flow and InFlex fast set impression tray material (Clinician’s Choice®). The rigid Quad-Tray Xtreme will not distort due to its aluminum design and low walls. Many dentists choose a flexible plastic impression tray for cost reasons but overlook how plastic trays easily distort, especially in dual-arch impressions. Impression distortion is difficult to observe at the impression stage, however, is often evident at the cementation stage. Inaccurate impressions waste valuable chair time for the dentist and patient with compromised fit and potential issues with longevity. A rigid impression tray coupled with a rigid tray material are essential for eliminating the chance of distortion while maximizing cementation efficiency and overall fit. Affinity Light Body High Flow was injected over the preparation, keeping the placement tip submerged in the material and always moving forward which allows the material to lead the way and results in a bubble-free impression. (FIG. 5)
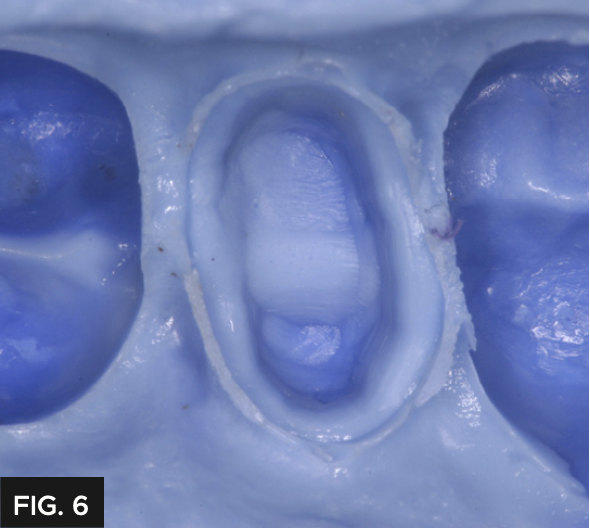
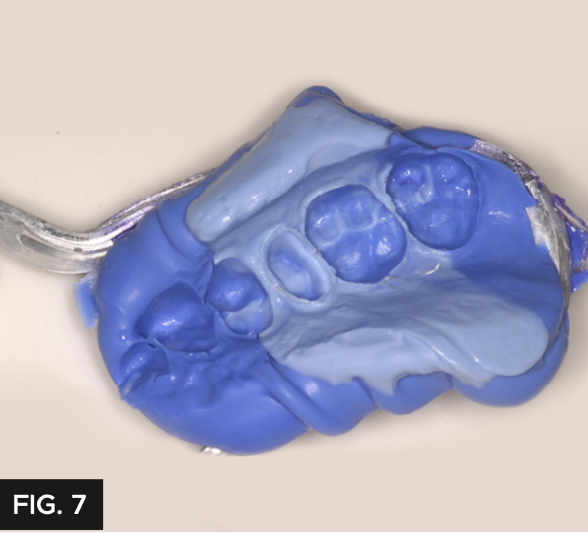
This technique provides great detail and has a perfect flow to allow the impression material to encompass the prep without the InFlex tray material showing through. (FIG. 6) Affinity InFlex has a higher durometer hardness to support the Quad-Tray Xtreme’s sideless wall design and will not distort during pour up. (FIG. 7)
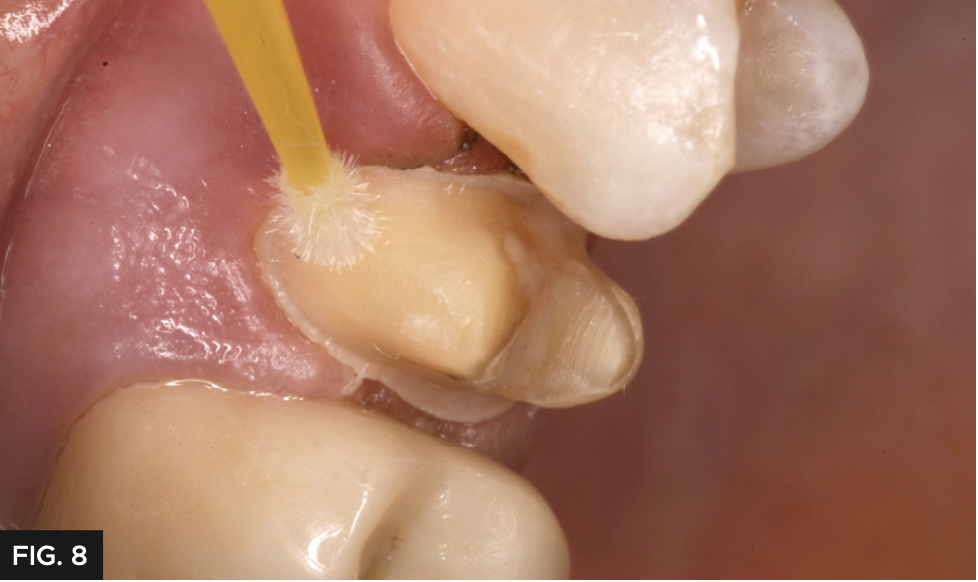
Given the patient’s sensitivity upon biting and to prevent post-operative sensitivity, the preparation was scrubbed with G5™ All-Purpose Desensitizer (Clinician’s Choice®) using a micro brush for 10-15 seconds. (FIG. 8) It is important not to allow the G5 to contact the soft tissue and is recommended to be used sparingly. Provisional composites vary with heat generation, oxygen inhibited layer thickness, strength and polishability.
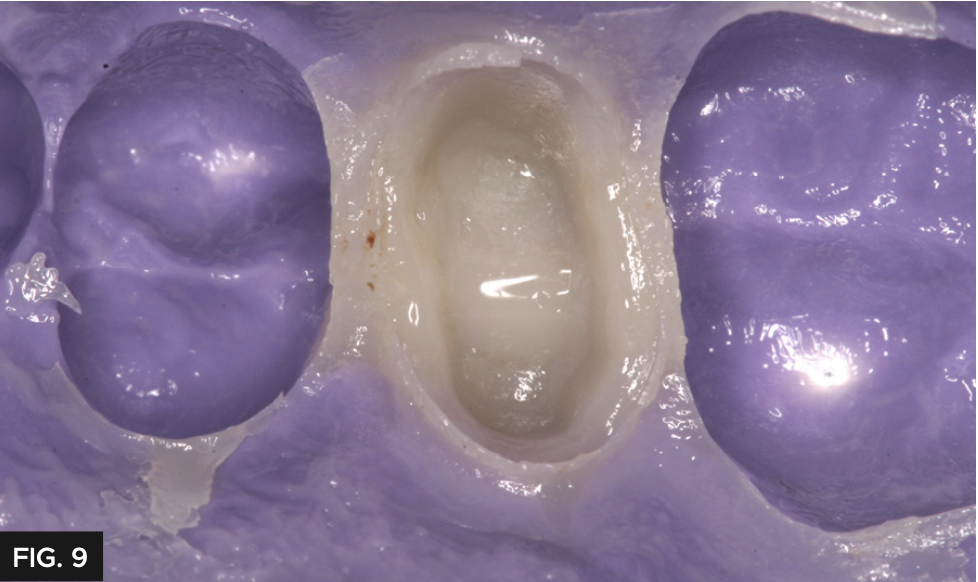
The provisional restoration was fabricated using (Clinician’s Choice®) bis-acryl composite due to its high strength along the margins, thin oxygen inhibited layer and minimal heat generation. The material was injected into the pre- operative Template/TempTray matrix and placed in the mouth for two minutes. This early mouth removal time prevents the provisional from adhering to the preparation; however, complete polymerization takes a couple minutes longer. (FIG. 9)
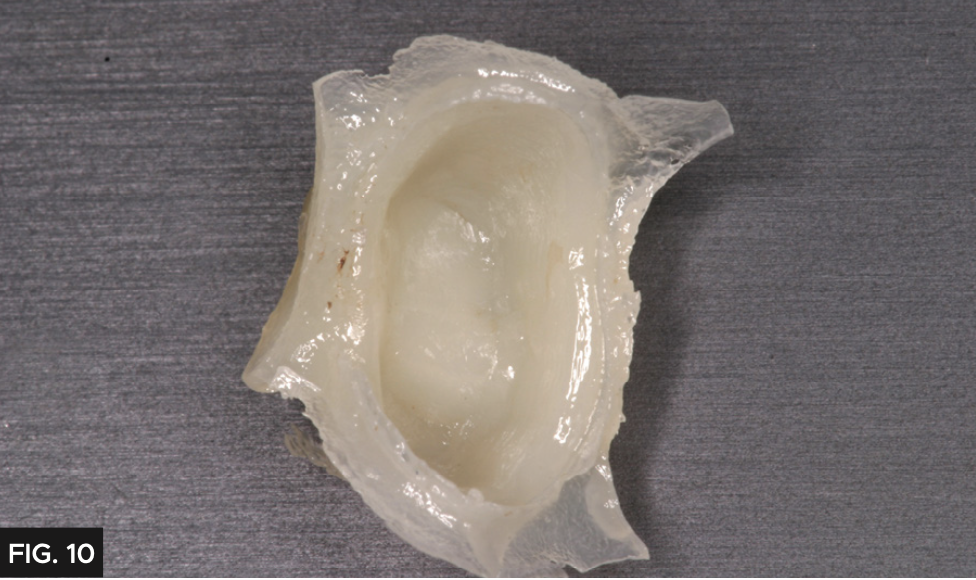
I advise to wait two minutes after removal before extraoral finishing. Margins are easily damaged if finishing of the provisional is started too quickly. Inspire is notably firm when trimmed which helps prevent margin damage, a common cause of provisional failure. (FIG. 10)
PROVISIONAL CEMENTATION
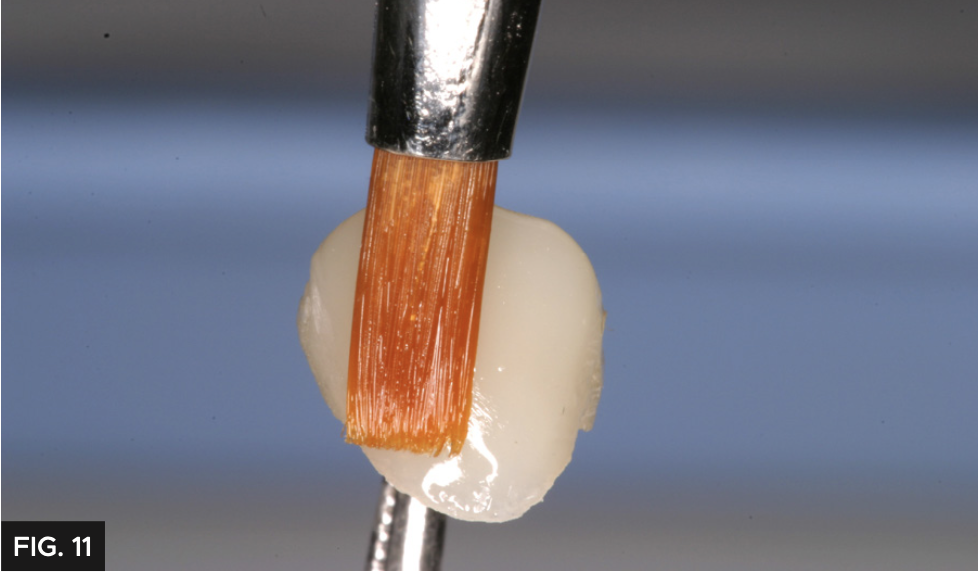
Prior to cementation of the provisional, polishing the temporary crown is important to prevent staining and allows for a higher degree of esthetics. In this case, the Inspire provisional composite was polished using finishing discs and the final glaze was obtained using Glisten™ Provisional Resin Glaze (Clinician’s Choice®). Applying a very thin layer of Glisten with a brush (FIG. 11) and light-curing for 20 seconds, minimizes the finishing time and provides a high gloss finish without affecting the occlusion.
Prior to cementing the provisional, a bite registration was made using Affinity™ Quick Bite as a double-check to the dual- arch impression (Clinician’s Choice®). (FIG. 12) This is not always necessary however, allows the lab technician to be as accurate as possible which saves time during final cementation.

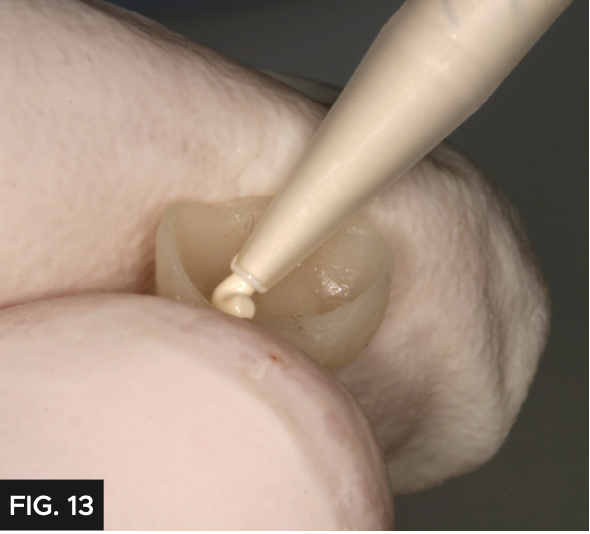
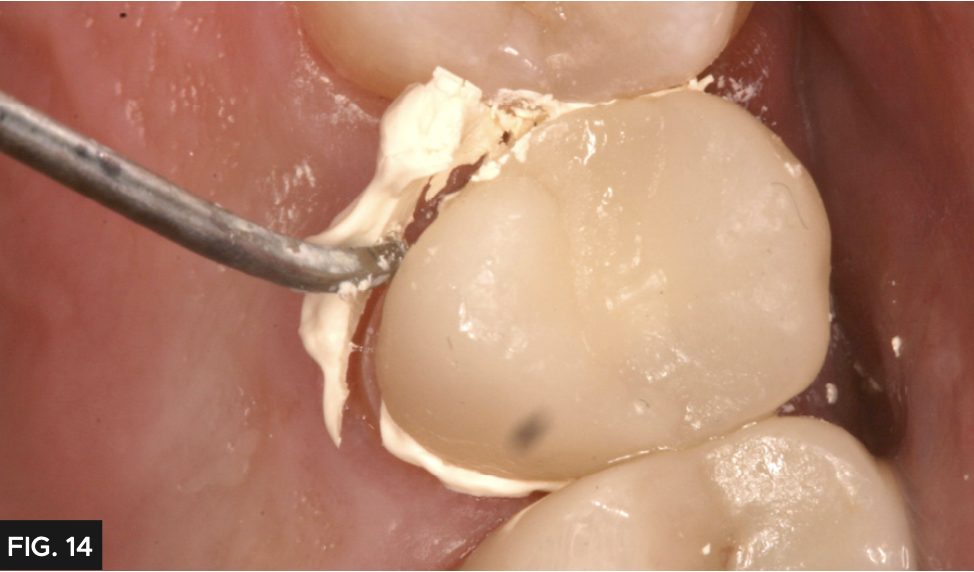
A common clinical problem with provisional restorations is premature dislodgement, which is frustrating for the patient and results in a costly repair appointment. For added retention, the crown was cemented with Cling2® (Clinician’s Choice®). Cling2 has a more retentive chemistry to prevent loss of the provisional before the seating appointment. The provisional was loaded with Cling2 (FIG. 13) and placed over the preparation and allowed to set for two minutes. The excess was easily removed with a curette. (FIG. 14) It is common to have excellent tissue health at the final cementation as Cling2 has a bacteriostatic effect.
FINAL CEMENTATION
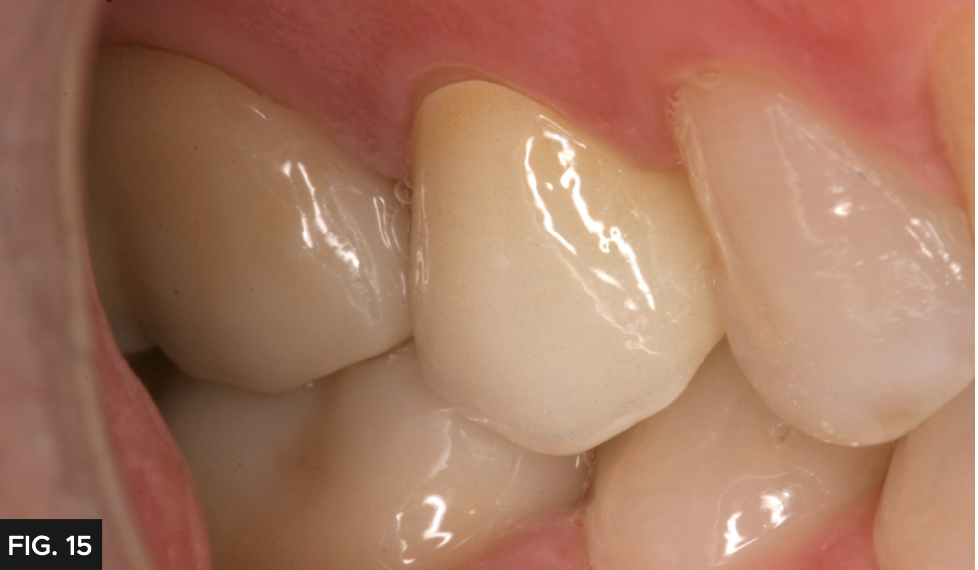
The final restoration (FIG. 15) required minimal adjustment before seating with RelyX™ Luting Plus (3M), a resin modified glass ionomer. This cement was chosen because the preparation had adequate retention and is preferred due to its easy clean up, predictable and long-term retention. Once seated, the cement is allowed to reach a gel stage, approximately 90 seconds, then excess is easily removed. This step can be expedited with tack curing. Had this preparation been a short crown or limited retention, a bonding sequence and resin cement (ie. RelyXTM Universal, 3M) would have been the preferred technique. The final restoration is shown in (FIG. 15).

ABOUT THE AUTHOR
Dr. Bob Margeas graduated from the University of Iowa College of Dentistry in 1986 and completed his AEGD residency the following year. He is currently an adjunct professor in the department of Operative Dentistry at the University of Iowa. He is Board Certified by the American Board of Operative Dentistry. He is a Diplomate of the American Board of Aesthetic Dentistry, a Fellow of the Academy of General Dentistry, American Society for Dental Aesthetics and International Team of Oral Implantologists (ITI). He has written numerous articles on esthetic and implant dentistry, and lectures and presents hands-on courses nationally and internationally on those subjects. He is currently the Editor in Chief of Inside Dentistry, on the Editorial Board of Compendium. Dr. Margeas maintains a full-time private practice focusing on comprehensive restorative and implant dentistry.
Share This Article! Choose Your Platform
Products Mentioned in this article


Related Articles
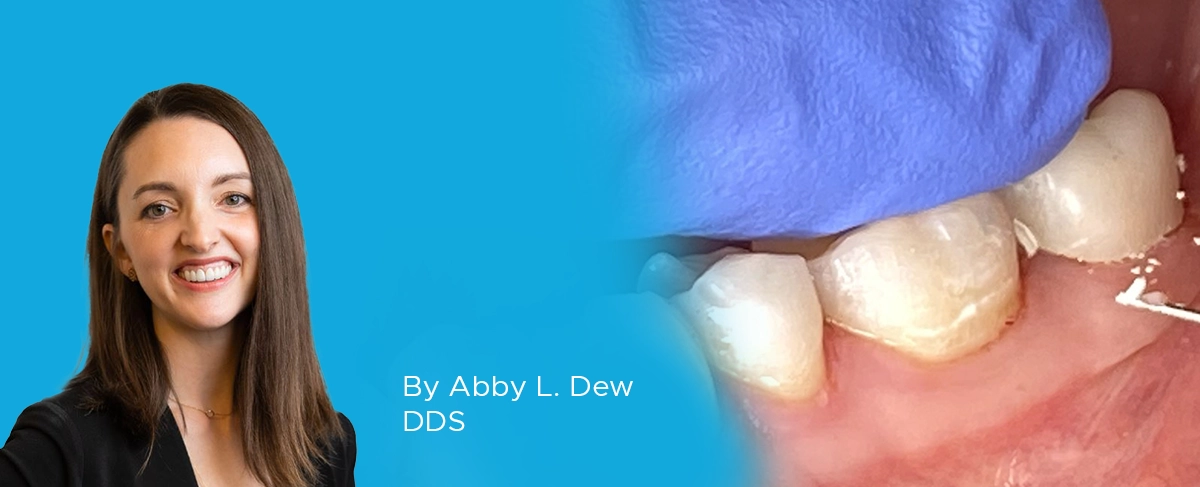
Cementation Protocol Using Cling2 Resin Optimized Temporary Cement
By Abby L. Dew, DDS
The importance of a temporary cement in setting up an ideal tissue environment before final cementation cannot be underestimated. To ensure a smooth and comfortable transition for the patient, it's crucial to create a functional and accurate provisional that mimic the pre-operative tooth or desired final result.
Optimizing Aesthetics and Predictability in the Placement of Posterior Composite Resin Restorations
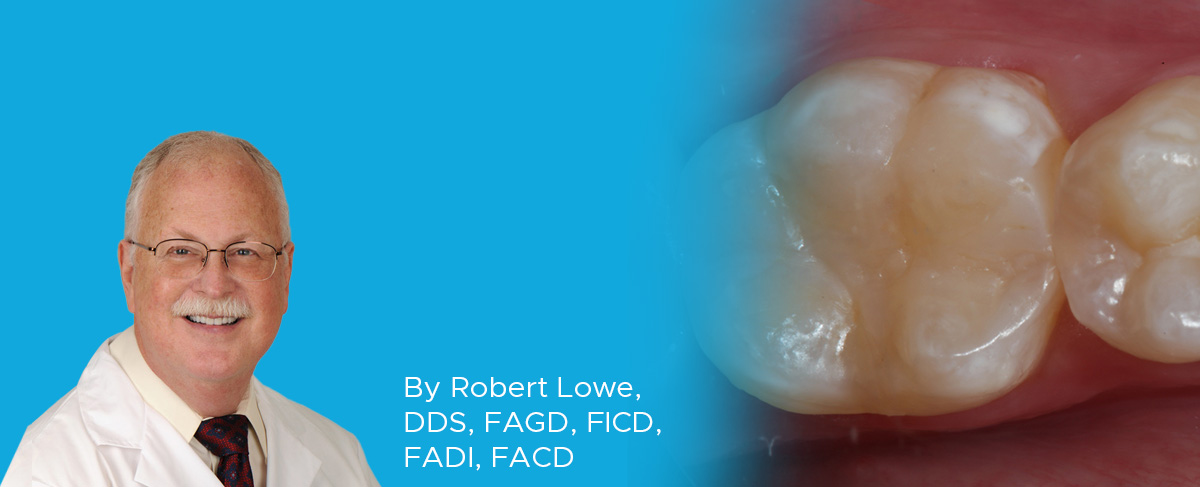
By Robert Lowe, DDS, FAGD, FICD, FADI, FACD
The term “universal” seems to be used frequently in the adhesion/composite resin materials world today. It has always been a struggle to find such a material that can adequately replace two very different types of tissues, namely enamel and dentin. Dentin is more opaque yet resilient, while enamel is
An Effective Ceramic Polishing Technique in Everyday Practice
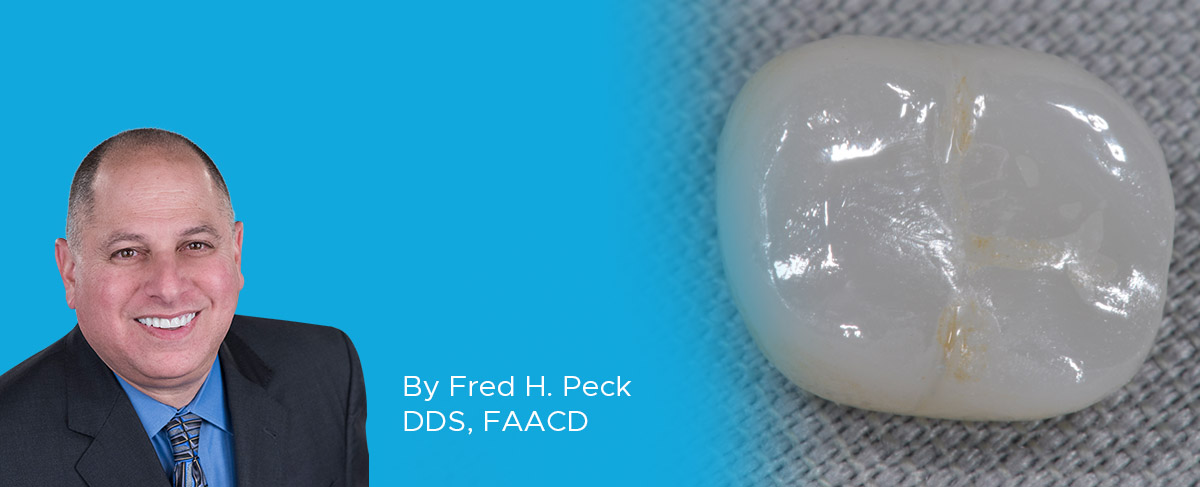
By Fred H. Peck, DDS, FAACD
Placing permanent ceramic restorations in our patients’ mouths is an everyday occurrence for the restorative dentist. These restorations help to restore lost tooth structure, stabilize the occlusion, replace missing teeth, and improve esthetics. The final surface texture must be smooth and polished for patient comfort and to prevent damage to opposing teeth.
Success and Predictable Results with Anterior Composites Every Single Time
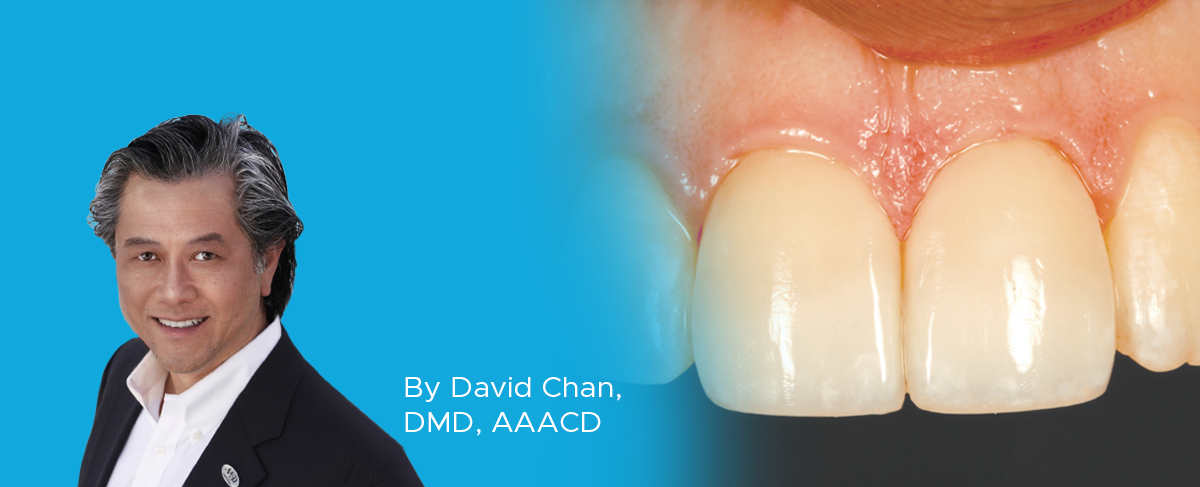
By David Chan, DMD, AAACD
The ability to rehabilitate or enhance a smile using direct composite restorations in the esthetic zone can be considered the ultimate challenge for the cosmetic dentist.
Increasing Restorative Success Means Making Smarter Choices During Provisionalization
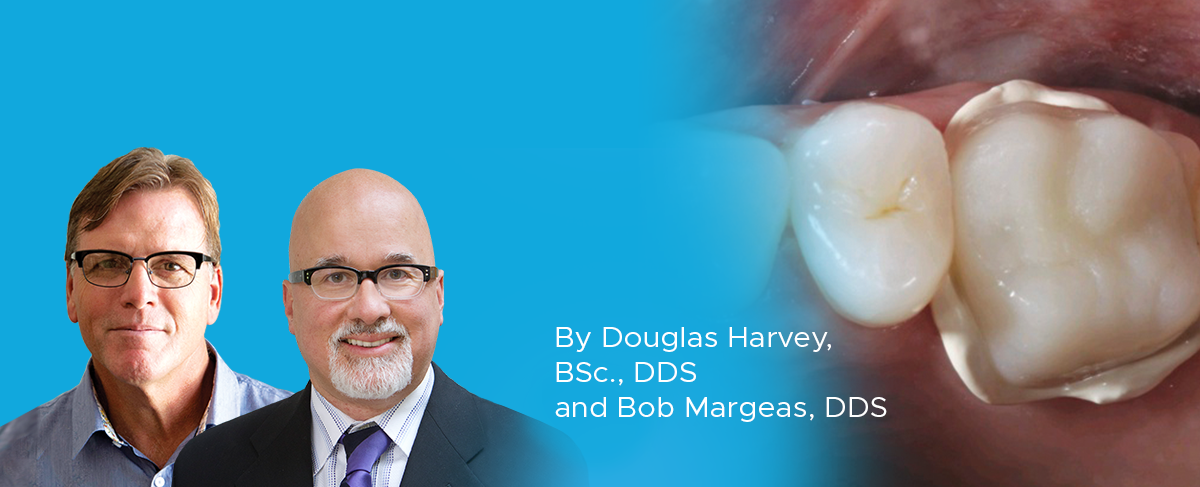
By Douglas Harvey, BSc., DDS and Bob Margeas, DDS
The scope of temporization goes beyond the protection of the prepared tooth. Maintenance of tooth position as well as gingival health and position surrounding the preparation during the provisional phase are just as important for optimal results.

Maximizing Impression-Taking Efficiency and Accuracy
By Fred Peck, DDS, FAACD
Obtaining a patient’s dental impression can present many challenges. One must keep the area free of saliva and blood, have good access to margins and often deal with a variety of viscosities of impression materials, that must be mixed and injected simultaneously to obtain an accurate impression.