
Restoring a Lateral Incisor to Proper Dimensions After Orthodontic Treatment
The most conservative method of restoring a Class IV fracture or correcting an anterior tooth size discrepancy is often composite resin.1 A composite restoration usually requires the least removal of healthy tooth structure. Many dentists choose porcelain over composite for this type of situation as the blending of the restoration within the natural dentition often creates a challenge. This article demonstrates how a few simple techniques with minimal layering can empower the dentist to mimic nature quickly and effectively. This offers patients a quick, beautiful and conservative result using composite resin in a single appointment. Since most Class IV restorations are performed in an emergency situation, this is a very important technique for any cosmetic dentist to master.
CASE STUDY
Case Type IV: Class IV Direct Resin Restoration: Replacing at Least 10% of the Facial Surface (Treating Upper Incisors).
A healthy patient in her fifties wanted to enhance her smile. Her upper right lateral (#7) had always been small, creating an unesthetic imbalance. The patient had orthodontics many years earlier but had not worn a night retainer, and crowding had gradually returned. She had composite dental repairs and had just finished additional orthodontic treatment to correct the crowding. The patient’s teeth had been bleached at the beginning of her orthodontic treatment and she was satisfied with the shade.

CLINICAL EXAMINATION AND FINDINGS
Examination and images, including the prescribed series of AACD photographs,2 revealed that #7 was normal, but smaller in crown size than ideal. Some tissue inflammation, likely related to orthodontic attachments, was visible on the tooth’s distal surface.The photographs and clinical data were reviewed with the patient. The main esthetic challenge would be to recreate incisal translucency and characteristics. (FIG 1 & 2)
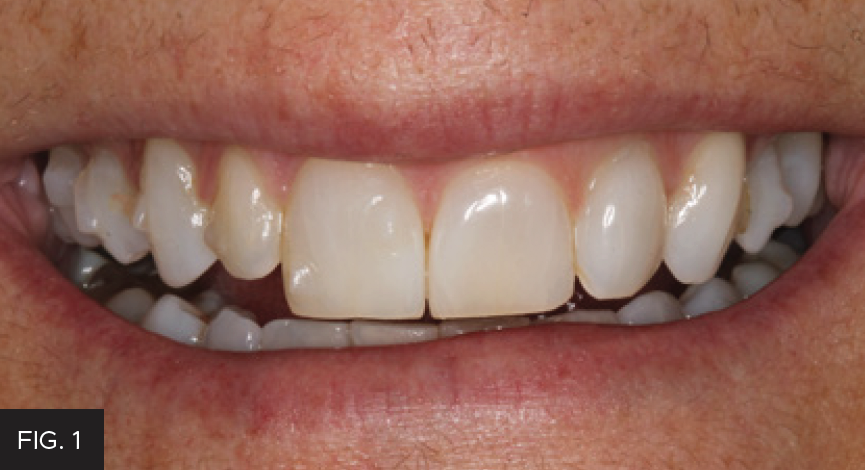
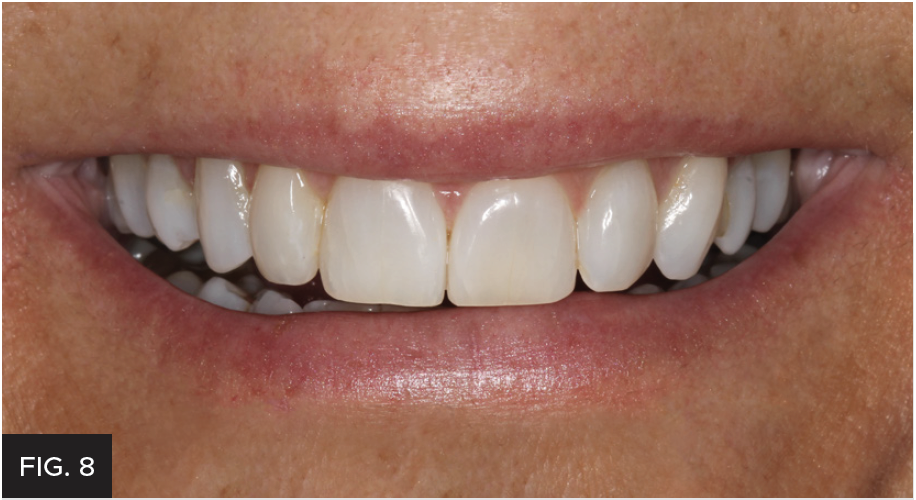
The pre-operative full smile view shows tooth #7 to be much shorter than tooth #10.
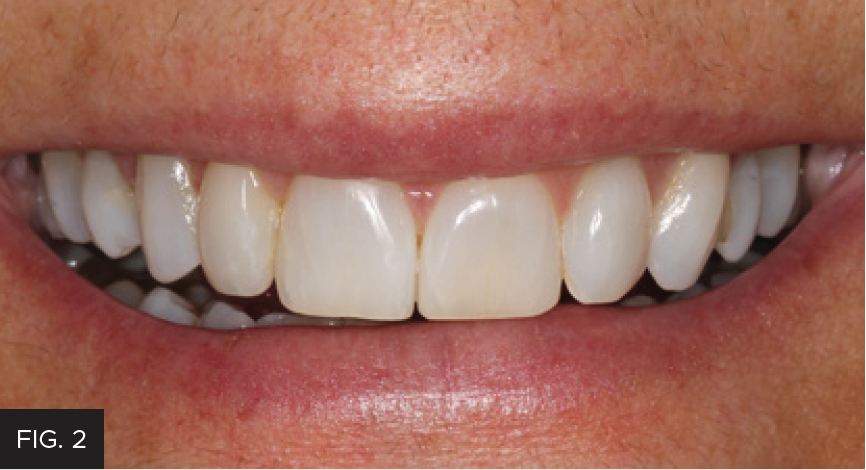
Post-operative full smile view after orthodontic treatment completed and shows the completed composite restoration.
TREATMENT PLAN
After the patient’s crowding issues had been corrected with orthodontics, the gingival display at #7 was excellent. All that remained was to restore the tooth to proper dimensions. (FIG 3 & 4) Different treatment options were discussed with the patient, including a composite veneer, Class IV restoration, and minimal-preparation porcelain veneer. Each option’s expected longevity was explained. The patient chose to have the tooth restored with a Class IV mesial-incisal-distal restoration.
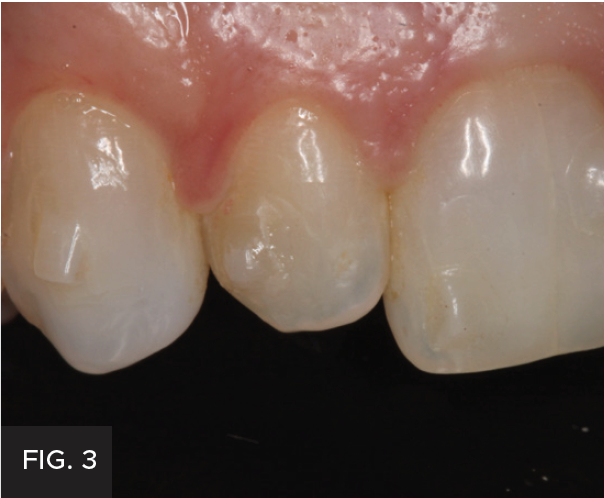
The pre-operative right 1:1 view shows deep incisal embrasures on tooth #7 and orthodontic composite tabs.
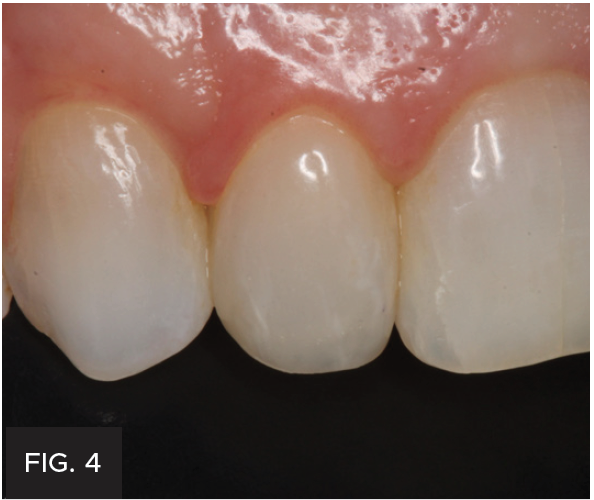
The post-operative right 1:1 view shows how all the characterizations make such a life-like restoration that blends the restoration into the tooth and the dental arch.
TREATMENT
No anesthetic was necessary to restore tooth #7. All orthodontic attachments were removed and the facial surface was thoroughly polished. No tooth preparation was needed and only cleansing/air polishing of the surface with the Bioclear Blaster with aluminum trihydroxide was necessary. The natural rounded shape of the tooth did not require beveling in order to hide the composite/tooth margin.3 Metal matrices were used to isolate tooth #7. The entire facial surface was etched with Ultra-Etch (Ultradent) for 15 seconds. The bonding agent, MPa Max (Clinician’s Choice), was applied and thinned out with air prior to light-curing.4

Pre-operative maxillary occlusal view shows the inadequate labial contour of the smaller tooth.
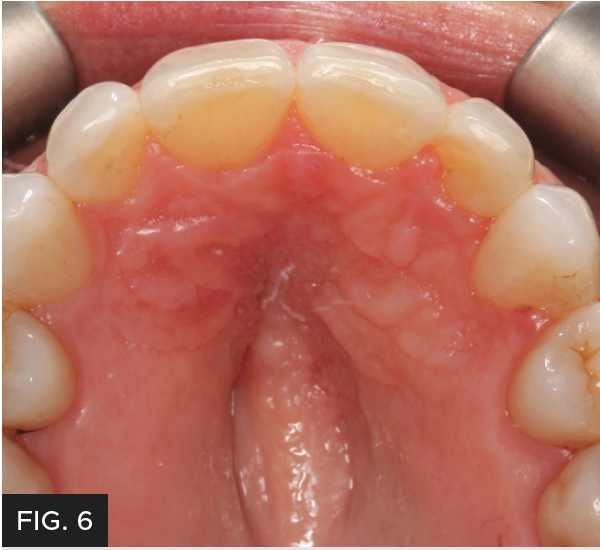
Post-operative maxillary occlusal view shows how the facial aspect has ideal contour.
COMPOSITE AND SHADE SELECTION
The composite, Evanesce (Clinician’s Choice), a nano-optimized universal restorative material, was chosen because it is slightly translucent and has beautiful blending qualities. The handling properties of this composite are excellent, enabling the operator to easily sculpt and contour to ideal shape. Evanesce comes in three opacities: 80%, 85%, and 90% (enamel, universal, and dentin, respectively).4
Evanesce matches the VITA shade guide, so no custom shade tabs were used. Evanesce A2U is slightly more opaque than Enamel A2 and was placed as a thick lingual shelf to block out light and avoid show-through.5,6
A small amount of A2-A3 Opaquer helped to eliminate the almost imperceptible transition line between the composite and tooth. A thin layer of A2 Enamel was sculpted into the facial lobes. Translucency was enhanced using Grey Tint.7
A technique that will help most restorations blend with the natural dentition is to create white craze lines that emulate those already present in the affected tooth or copy the surrounding dentition.8 Pre-operative close-up photographs will show that most teeth have some white lines, even though they cannot be seen by the naked eye. This characterization was added using a #1 artist brush and thinned out to a hairline thickness, which will cause light to scatter and create a beautiful blending effect within the restored tooth.9
Hypocalcifications were reproduced with Opaque White, again applying the material with a #1 artist brush from the tooth structure to the incisal edge of the Class IV restoration.
To create hypocalcifications, Opaque White was applied in a diffuse manner to match the pattern on #7 and the adjacent teeth. A thin coat of translucent resin was layered on top for its polishability and beautiful transparent quality, giving more depth to the restoration as it protects the tints/opaquers underneath. Tints must always remain sealed under composite resin as they will wear down quickly if unprotected.
Each layer of composite material and tints were cured with a high-power curing light. For the final curing, glycerin was placed on the restoration’s surface to remove the oxygen inhibited layer; this hardened the surface and made it easier to achieve a beautiful polish. (FIG 7)

Post-operative 1:2 retracted frontal view.
FINISHING & POLISHING
The first step in finishing and polishing is to establish the correct incisal edge position.
This is best viewed from the incisal perspective and it is helpful to trace a pencil line across the facial-incisal edges of the anterior teeth.6, 10 The next step is to create the proper primary anatomy of the tooth. A useful guide would be to create a diagnostic wax-up ahead of the appointment to serve as a guide during the clinical appointment. A fluted carbide bur is used with a very light touch. The thickness of the restoration was checked incisally at each layering stage in order to make sure the characterization is detectable once the restoration was completed. This also helps reduce the need for post-op adjustments.
The contouring of basic anatomic form is performed using a red disc. Shallow mamelons were created with a pointed polisher. The primary polish was obtained using disc polishers. The final luster was achieved using a polishing disc and paste.6,11
Photographs were taken to evaluate aesthetic outcome. The patient was shown her new restoration and was pleased with the results. The patient returned a few weeks later for a final post-op check. The tissue healed well after removal of the attachments. Proper canine function was confirmed and lateral disclusion of the lateral was obtained which is ideal with a Class IV restoration on such a small sized tooth.12 The final pictures2 and post-op x-rays were taken. (FIG 8 & 9)
Post-operative follow-up.
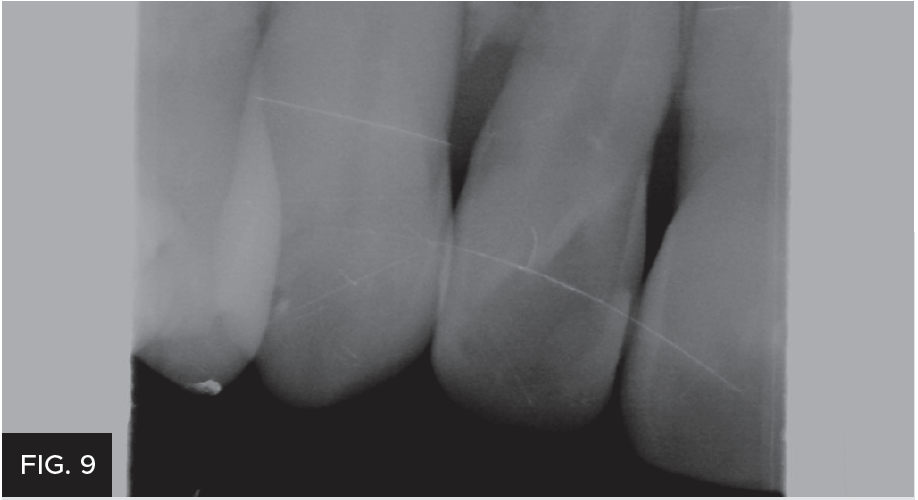
Post-operative x-ray demonstrates no overhangs and an excellent interproximal contour.
SUMMARY
The missing incisal third of this patient’s tooth was successfully restored with an easy-to-handle nanofill composite with superior blending qualities. The addition of tiny craze lines helped make the restoration even more undetectable and the transparent microfill surface ensured perfect polishability. Treatment was completed in one appointment and no touchups were needed. The patient was comfortable during the treatment and extremely pleased with the result. The best composite restoration is one that cannot be detected, because everything looks like natural tooth structure.
REFERENCES
1. Denehy GE. A direct approach to restore anterior teeth. Am J Dent.2000 Nov;13(Spec No):55D-59D.
2. American Academy of Cosmetic Dentistry (AACD). Photographic documentation and evaluation in cosmetic dentistry: a guide to Accreditation photography Madison (WI): AACD; 2015. www.aacd.com/guides
3. Finlay Scott. Conservative esthetics using direct resin. Inside Dent. 2010 May;6(5):96-101.
4. Hatkar P. Preserving natural tooth structure with composite resin. J Cosmetic Dent. 2010 Fall;26(3):26-36.
5. Terry DA. Restoring the incisal edge. NY State Dent J. 2005 Aug-Sept;71(5):30-5.
6. Fahl N. Mastering composite artistry to create anterior masterpieces—Part 1. J Cosmetic Dent. 2010 Fall;26(3):56-68.
7. Fahl N. Mastering composite artistry to create anterior masterpieces—Part 2. J Cosmetic Dent. 2011 Winter;26(4):42-55.
8. Morley J. The role of cosmetic dentistry in restoring a youthful appearance. J Am Dent Assoc.1999 Aug;130(8):1166-72.
9. Terry DA. Enhanced resilience and aesthetics in a class IV restoration. Compend Contin Educ Dent. 2000;26:19-25.
10. Peyton JH, Arnold JF. Six or more direct resin veneers case for accreditation: hands-on typodont exercise. J Cosmetic Dent. 2008 Fall;24(3):38-48.
11. Peyton, James. Finishing and polishing techniques: direct composite resin restorations. Pract Proced Aesthet Dent. 2004 May;16(4):293-8.
12. Ali J, Calamia C, Magid KS, Calamia JR, Giannuzzi NJ. An aesthetic and functional rehabilitation: a case study. Dent Clin North Am. 2015 Jul; 59 (3): 547-57.
Republished with permission, Journal of Cosmetic Dentistry,© 2021 American Academy of Cosmetic Dentistry, All Rights Reserved. 608.222.8583; www.aacd.com

ABOUT THE AUTHOR
Based in St-Laurent, Québec, Canada, Dr. Danièle Larose’s private practice focuses on conservative cosmetic and reconstructive dentistry. Years of daily practice have enabled her to develop her “how did you do that? – instant orthodontics” and “smile lift” techniques. Dr. Larose graduated from the University of Montreal in 1997. She attended the Dawson Institute and the Las Vegas Institute for Advanced Dental Training. For the past several years she has been receiving great reviews teaching full-day hands-on classes in Canada and the U.S. devoted to anterior aesthetic techniques. She is a member of the LVI Study Club, Implantology Study Club, AACD, CAED, Invisalign Study Club, and Ordre des dentistes
du Québec.
Share This Article! Choose Your Platform
Products Mentioned in this article

Related Articles
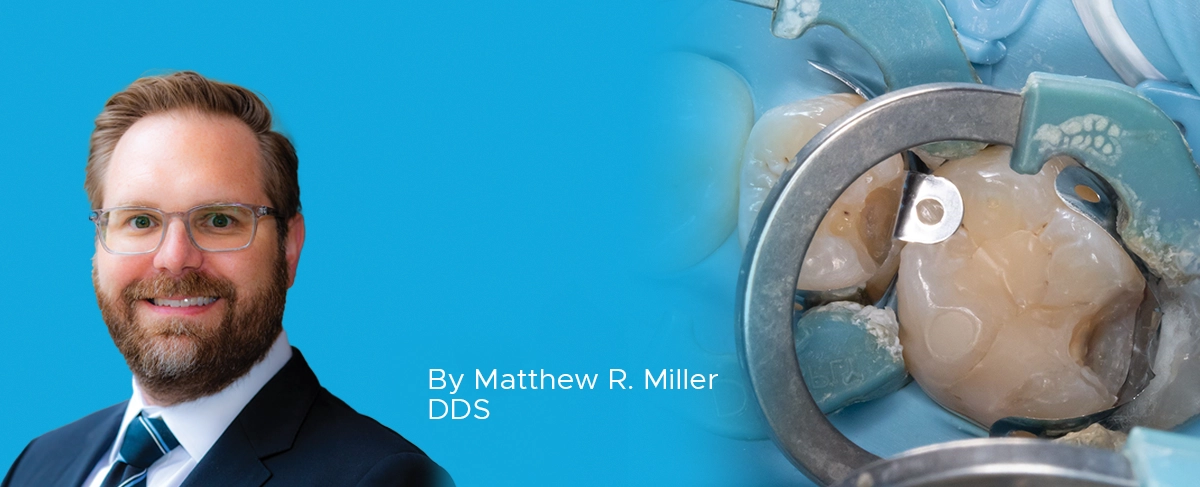
Ask the Expert: An Interview with Matthew R. Miller, DDS on Sectional Matrix Systems
By Matthew R. Miller, DDS
There are many sectional matrix systems on the market today. Are some better than others? What should I be looking for when choosing a sectional matrix system?
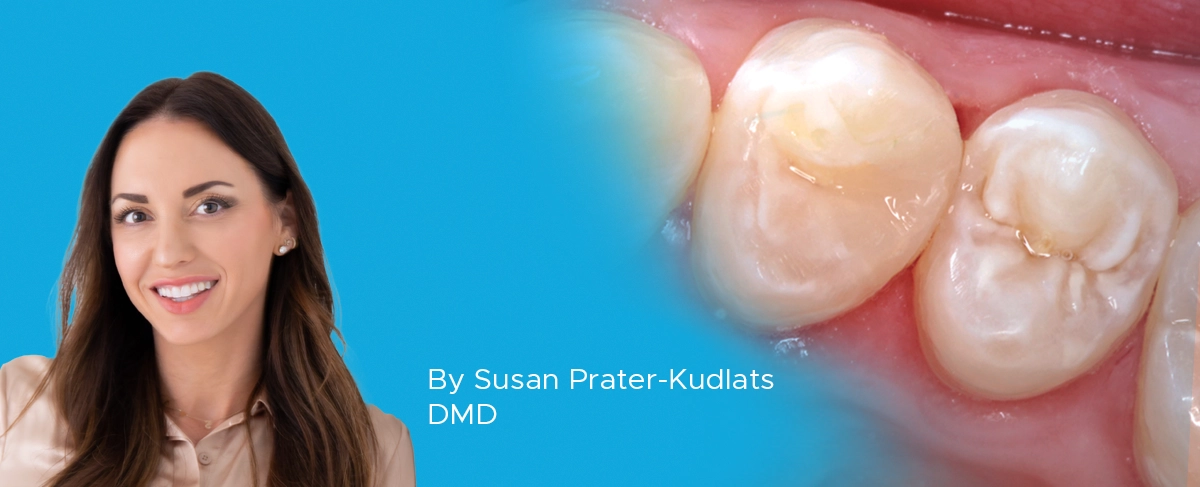
Achieving Clinical Success Utilizing the DualForce™ Sectional Matrix System
By Susan Prater-Kudlats, DMD
Although Class II restorations are routine amongst restorative dentists, they still present challenges when it comes to proper contour isolation, and marginal seal. Failure to achieve adequate contour can lead to food packing, gingival inflammation, and bone loss over time. The inability to ensure isolation can result in post-operative sensitivity; the marginal seal is essential to prevent recurrent decay.

Take 5: 5 Restorative Clinicians’ Take on DualForce™ Sectional Matrix System
5 Restorative Clinicians' Take On DualForce Sectional Matrix System.
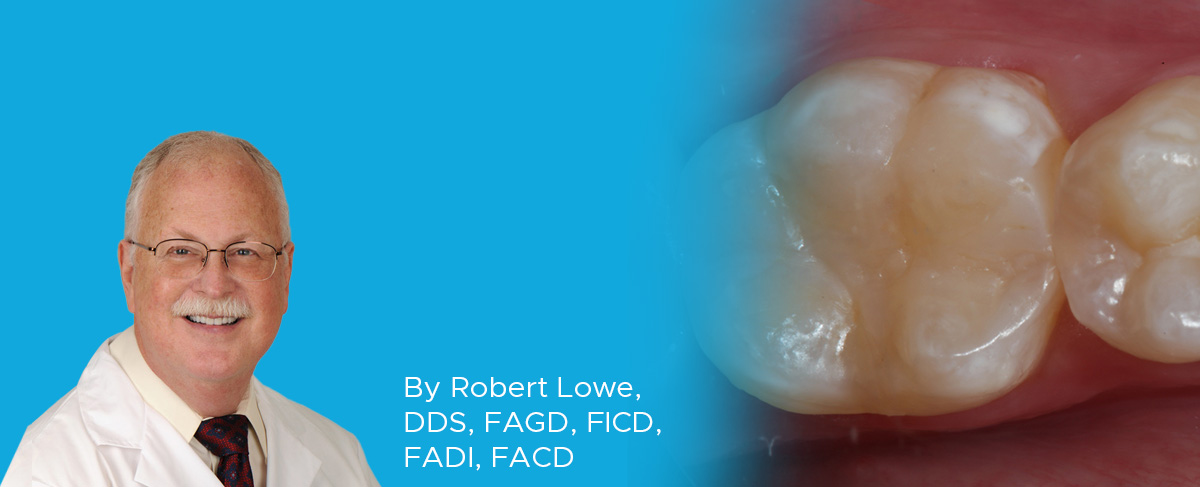
Optimizing Aesthetics and Predictability in the Placement of Posterior Composite Resin Restorations
By Robert Lowe, DDS, FAGD, FICD, FADI, FACD
The term “universal” seems to be used frequently in the adhesion/composite resin materials world today. It has always been a struggle to find such a material that can adequately replace two very different types of tissues, namely enamel and dentin. Dentin is more opaque yet resilient, while enamel is
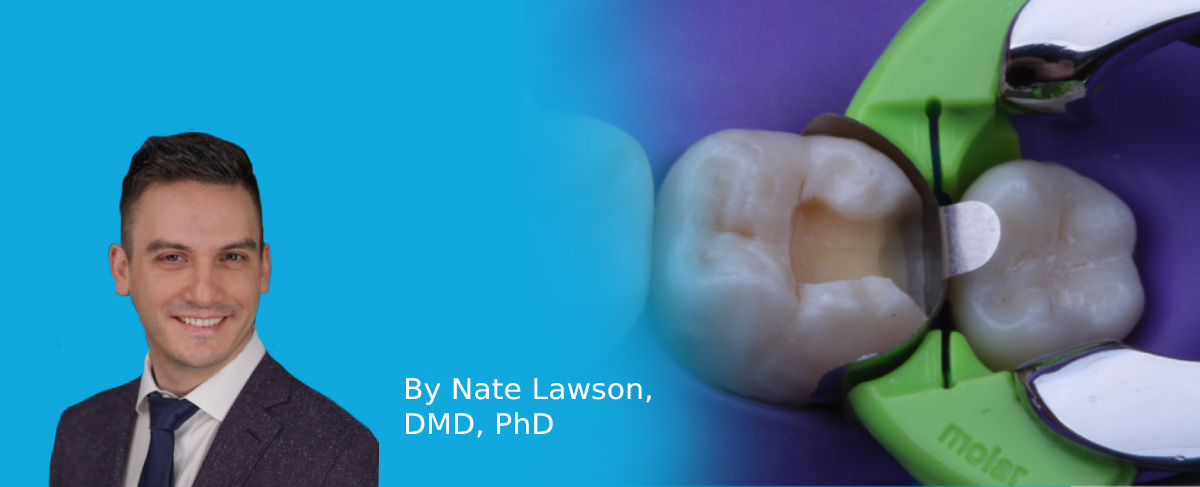
Ask the Expert: An Interview with Nate Lawson, DMD, PhD on Sectional Matrix Systems
By Nate Lawson, DMD, PhD
What is the advantage of using sectional matrices over circumferential matrices for composite restorations?
Simplifying the Class II Composite with Bulk Fill: Efficiency Without Compromise – Clinical Article
By Marcos Vargas, BDB, DDS, MS & Kayla E. Erps, Senior Dental Student, University of Iowa
While restoring the posterior dentition, natural proximal contours, contact size, position and shape are integral to the function and longevity of both the restoration and remaining tooth structure. Composite dentistry has progressed to the point where restorations disappear into the surrounding tooth structure yet despite considerable improvements in both technique and materials, inconsistent results continue to be a challenge for many clinicians.