
Ask the Expert: An Interview with Nate Lawson, DMD, MA, PhD on the Fabrication of Temporary Restorations
Question
How do you fabricate temporaries for fixed restorations?
Answer
Question
What materials can you use to fabricate a matrix for a temporary restoration?
Answer
Matrices for temporary restorations may be fabricated out of clear thermoform sheets or impression materials. Thermoform sheets allow the clinician to see the adaptation of the temporary material around the tooth preparation when seating the matrix which may help to prevent bubbles or voids in the temporary restoration. The disadvantage of a thermoform matrix; however, is that the clinician must possess a hard model of the ideal shape of the tooth. Therefore, impression materials are commonly used as matrices for temporaries. Alginate impressions are sometimes used as a matrix for temporary restorations due to their fast setting time and low cost. Alginates have poor detail reproduction which will affect their ability to reproduce a temporary with good marginal adaption and occlusal fit. Alginates also dry out quickly and have low tear strength which means that they cannot be re-used in the case that the patient needs to have a temporary re-made. Silicone-based impression materials, therefore, are a favorite material for temporary matrix materials.
Question
What are desirable properties of a temporary matrix material?
Answer
Question
Why do you like to use Template as a temporary matrix material?
Answer
Template is a silicone-based matrix material with a high detail accuracy and a 30-second setting time. This material has a faster setting time than most bite registration materials and better detail reproduction than bite registration materials. Because it is silicone-based, it has high tear strength and it is dimensionally stable.
Question
What are the other applications for Template?
Answer
Template is also useful with direct restorations. It can be used to form a lingual matrix for anterior composite restorations. For this method, a mock-up of the ideal lingual contours of the anterior tooth are built with old composite in the mouth. Only the lingual contours, incisal edge position and approximate occlusion need to be considered for this buildup. The lingual surface, including the facio-incisal line angle, is then impressed with Template. This lingual matrix is then used to build up layers of composite for the final restoration. Additionally, a buccal matrix using Template fabricated from a hard model of a diagnostic wax-up can be used as a facial reduction guide when preparing for direct or indirect veneers.
Question
How would you create a temporary for a tooth that does not begin as an intact tooth?
Answer
This scenario can create a time-management headache in a busy clinical setting. In this case of a fractured crown (FIG. 1) where a portion of the crown remains cemented on a vital tooth, the patient was experiencing sensitivity due to exposed dentin and required immediate temporary coverage.
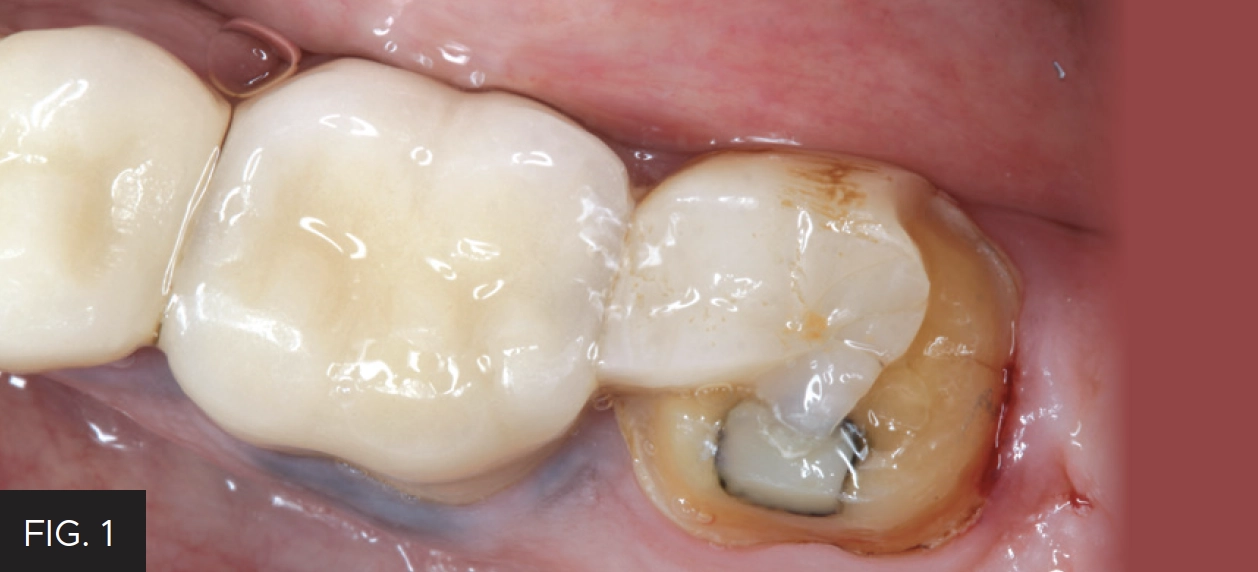
Patient presented as an emergency patient with a fractured ceramic crown. The tooth was vital and the patient was experiencing sensitivity due to exposed dentin.
In any clinical setting, available chair time may be limited and may not allow for obtaining an impression of the fractured tooth along with the opposing dentition and fabricating a temporary matrix from an ideal wax-up. Therefore, the clinician may build up the tooth with old or expired composite or wax and then take an impression of the tooth. One challenge with this method, however, is that the composite or wax buildup may dislodge from the tooth in the process of taking the impression of the tooth. In order to avoid this another technique was utilized. An impression of the non-intact tooth was taken using Template Ultra Quick Matrix Material (Clinician’s Choice) in a Quad-Tray Xtreme (Clinician’s Choice) dual-arch impression tray. (FIG 2)
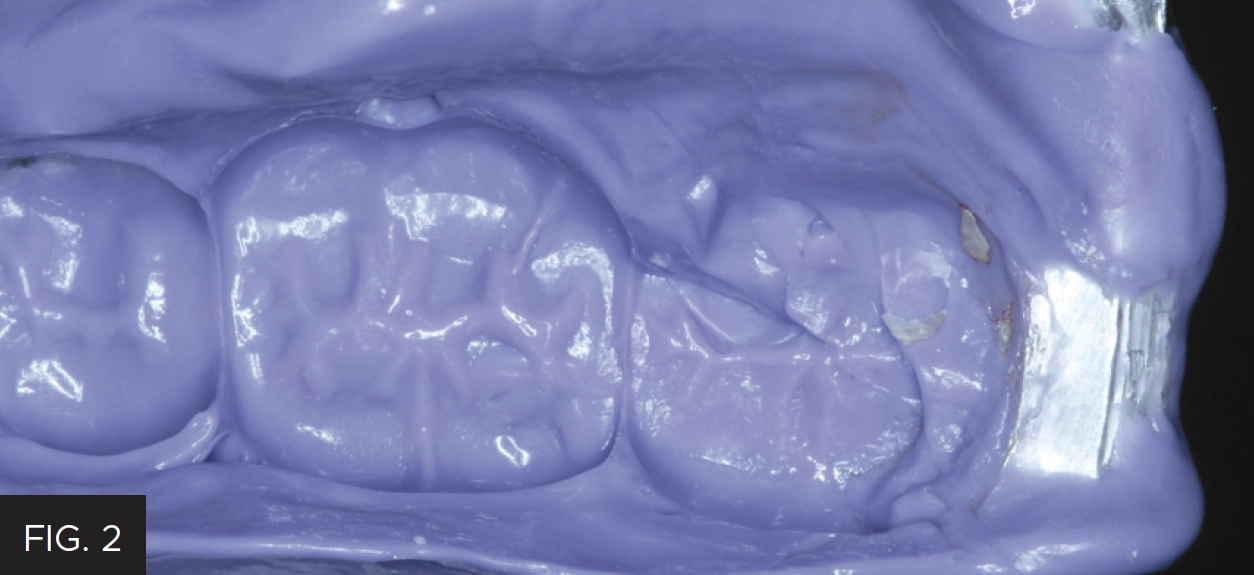
An impression of the fractured crown was taken quickly with Template in a Quad-Tray Xtreme.
The remaining restoration was then removed from the impression using a bur in order to provide room for a full thickness temporary. It was necessary to perforate the temporary impression in order to gain sufficient space. (FIG. 3)
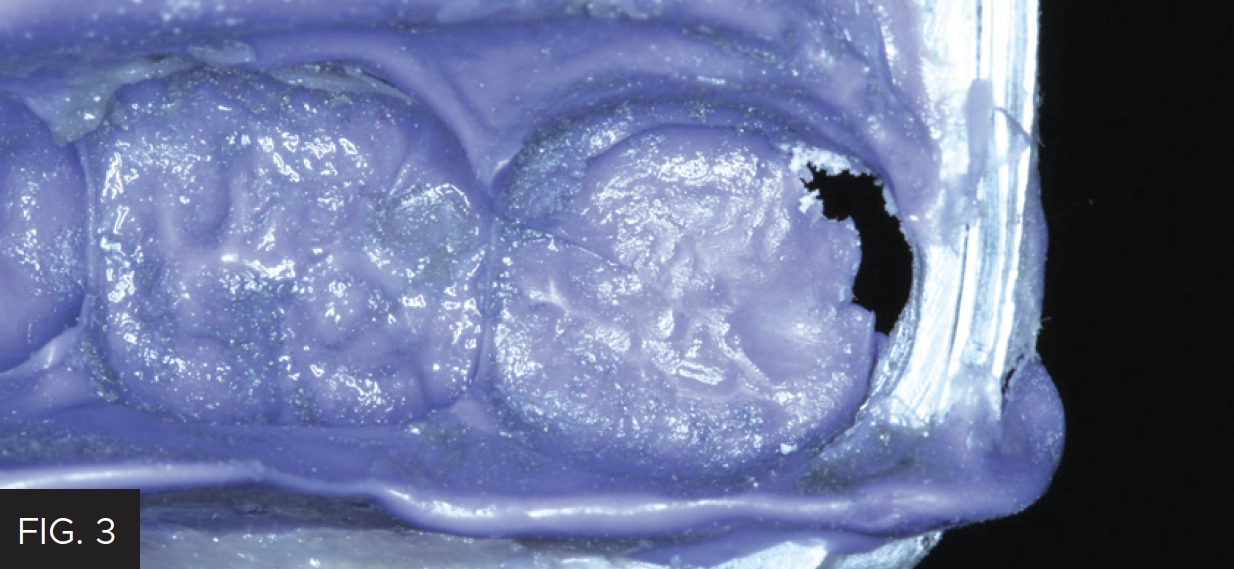
The areas of the missing crown structure were removed with a rotary instrument. It is important that sufficient material is removed to allow for adequate thickness of temporary material.
At this point, the temporary impression was set aside until the tooth was re-prepared for the new restoration. Once the temporary crown was fabricated using Inspire Esthetic Provisional Composite (Clinician’s Choice), it was necessary to quickly recontour and establish proper occlusion as well as remove some flash that resulted from the perforated impression. This was easily accomplished with finishing burs prior to cementation. (FIG. 4)
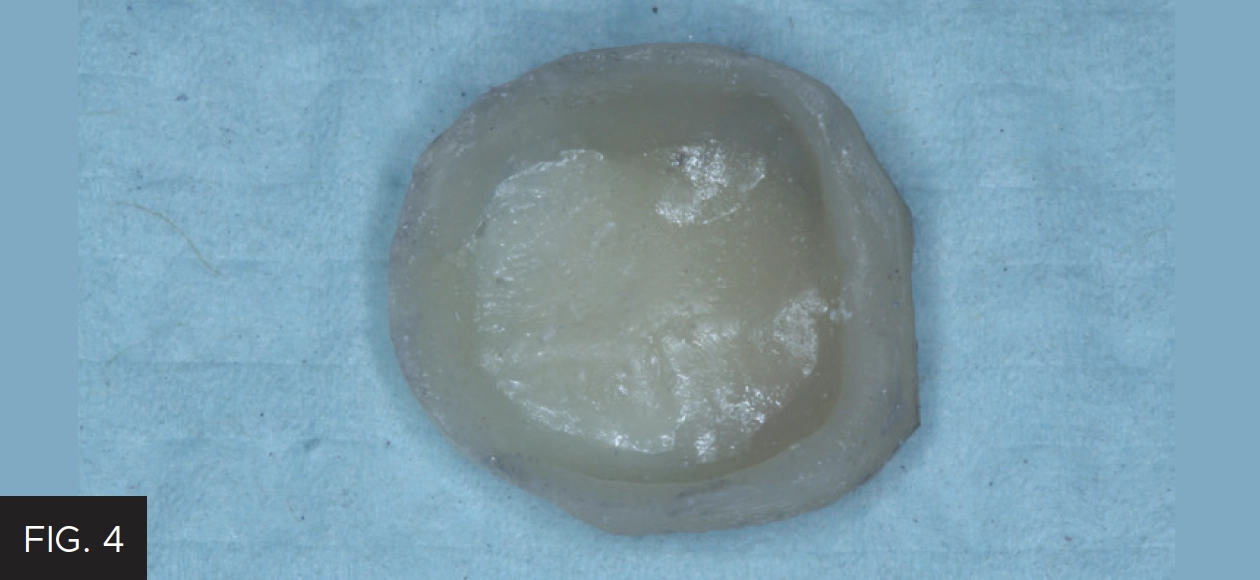
The temporary crown was removed from matrix and quickly recontoured to remove bulk and flash and then polished.
Cling2 Resin Optimized Temporary Cement (Clinician’s Choice) is ideal for providing a stable, healthy and sensitivity-free temporization stage. (FIG. 5)

The temporary crown was cemented with temporary cement. Occlusion was adjusted. Note that this method may not create anatomic occlusal contours unless clinician creates them with finishing burs.

ABOUT THE AUTHOR
Nate Lawson DMD, MA, PhD is the Director of the Division of Biomaterials at the University
of Alabama at Birmingham School of Dentistry and the program director of the Biomaterials residency program. He graduated from UAB School of Dentistry in 2011 and obtained his PhD in Biomedical Engineering in 2012. His research interests are the mechanical, optical, and biologic properties of dental materials and clinical evaluation of new dental materials. He was the 2016 recipient of the Stanford New Investigator Award and the 2017 3M Innovative Research Fellowship both from the American Dental Association. He served on the American Dental Association Council of Scientific Affairs and is on the editorial board of The Journal of Adhesive Dentistry and Compendium. He has lectured nationally and internationally on the subject of dental materials. He also works as a general dentist in the UAB Faculty Practice.
Share This Article! Choose Your Platform
Products Mentioned in this article
Related Articles
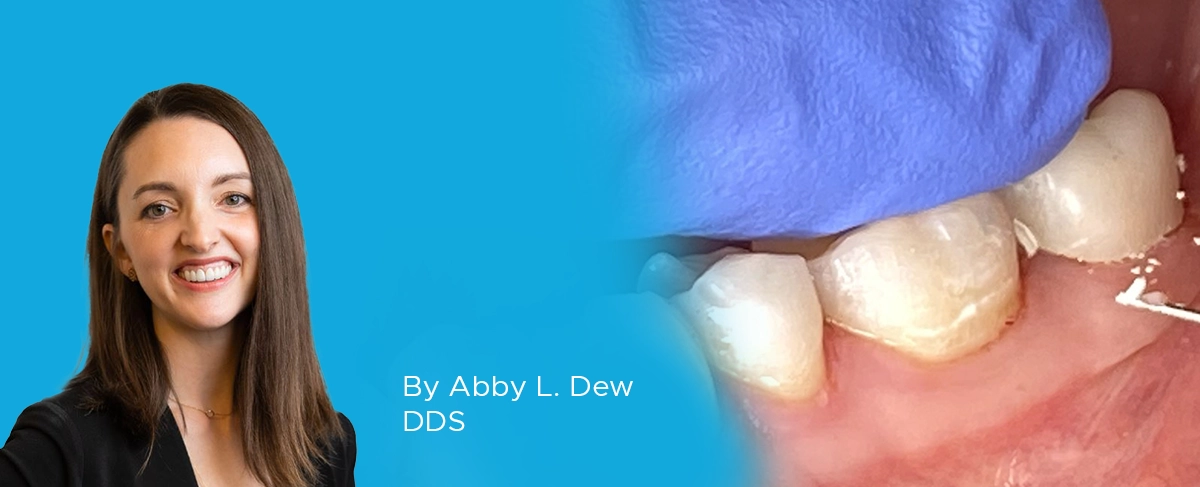
Cementation Protocol Using Cling2 Resin Optimized Temporary Cement
By Abby L. Dew, DDS
The importance of a temporary cement in setting up an ideal tissue environment before final cementation cannot be underestimated. To ensure a smooth and comfortable transition for the patient, it's crucial to create a functional and accurate provisional that mimic the pre-operative tooth or desired final result.

Ask the Expert: An Interview with Nate Lawson, DMD, PhD on Universal Adhesives
By Nate Lawson, DMD, PhD
What is an universal adhesive? A “universal” adhesive is not a technical term but rather a clinical term. It implies that an adhesive can be used with or without phosphoric acid on dentin or enamel. In scientific writing, these adhesives are sometimes referred to as mild self-etch adhesives because they have a slightly less acidic pH (around 3) than typical self-etch materials (around 2).
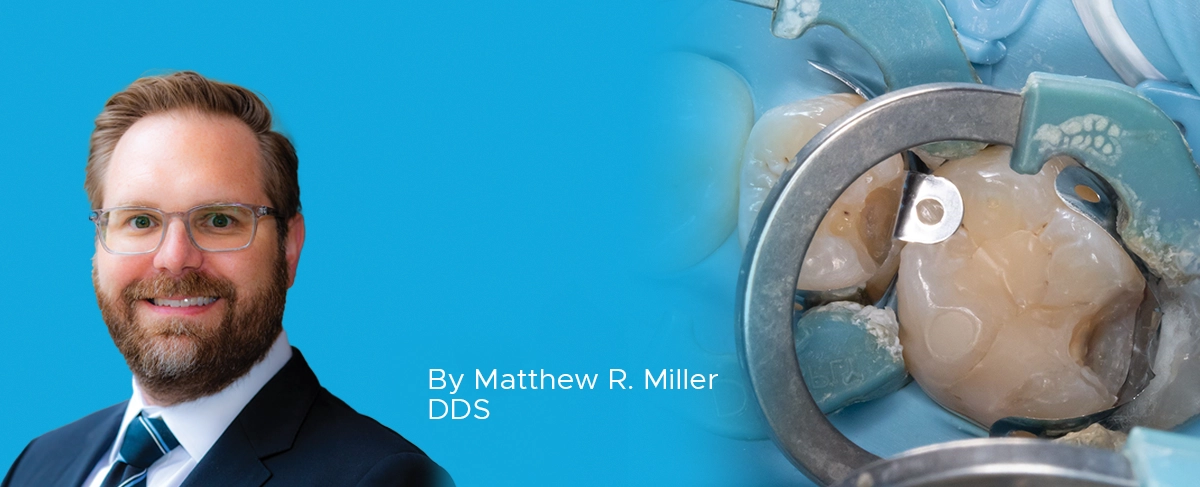
Ask the Expert: An Interview with Matthew R. Miller, DDS on Sectional Matrix Systems
By Matthew R. Miller, DDS
There are many sectional matrix systems on the market today. Are some better than others? What should I be looking for when choosing a sectional matrix system?
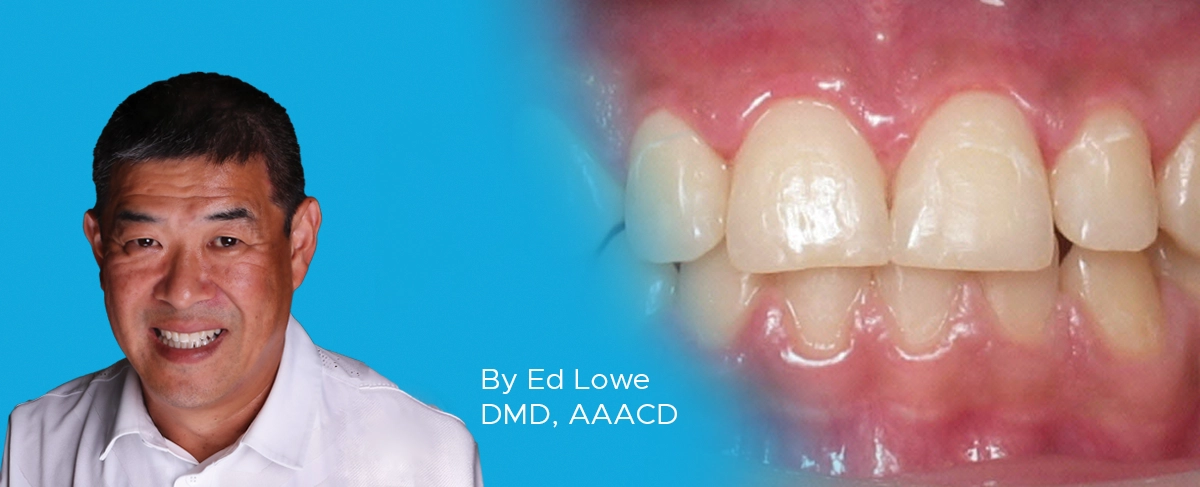
Ask the Expert: An Interview with Ed Lowe, DMD, AAACD on Soft Tissue Diode Lasers
By Ed Lowe, DMD, AAACD
What type of clinical procedures can be done with a soft tissue diode laser?
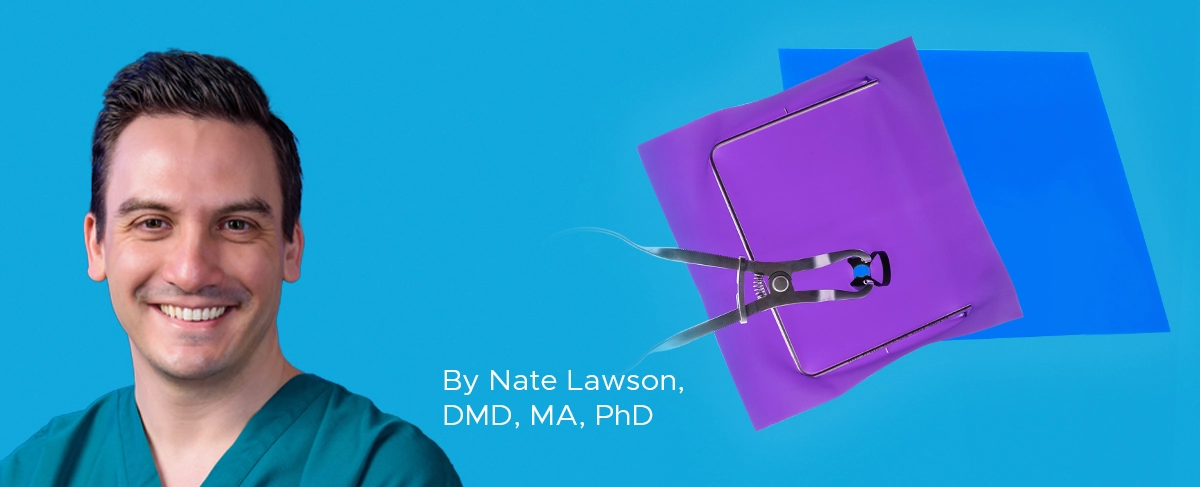
Closer Look: True™ Dental Dams Stand Out From the Crowd
By Nate Lawson, DDS, MA, PhD
The Clinician’s Choice rubber dams stand out among others due to their versatility, tear resistance, flexibility, and color.
Ask the Expert: An Interview with Bob Margeas, DDS on Universal Composites
How do you evaluate the esthetic potential of a composite?